How To Take Care Of Tape-In Extensions

You just got your tape-in hair extensions done, and they look amazing. You feel confident and excited - but now you’re wondering, How do I keep them looking like this?
Don’t worry, we’ve got you. In this guide, you’ll learn exactly how to take care of your tape-ins from the moment they’re applied. We’ll walk you through washing, brushing, styling, sleeping, and more, so your hair stays beautiful and your extensions last as long as possible.
So let’s dive in, and by the end, you’ll feel like an extension care pro.
Quality of Materials
What Are Tape-In Extensions and Why Proper Care Matters
Tape-in extensions are small strips of hair attached to your natural hair using strong, skin-safe adhesive tape.
Tape-ins work by sandwiching small sections of your natural hair between two thin wefts pre-taped with adhesive. These "tapes" are lightweight and flexible, which makes them feel natural to wear. But because the adhesive holds everything in place, anything that weakens that bond - like oils, too much water, or rough handling - can cause problems.
This is why proper care is essential. They lie flat against your head and blend in naturally. Once installed, they can last between 4 to 8 weeks if you take care of them properly.
Why does care matter so much? First, these extensions are an investment. You want them to last. Second, if you treat them right, they’ll stay soft, shiny, and secure. But if you don’t, they can slip out, tangle, or even damage your natural hair. Tape-ins are one of the safest types of extensions if you treat them gently and follow a few simple rules.
Compared to clip-ins (which you take off daily), tape-ins stay in all the time. They’re also easier to manage than glue-ins or sew-ins. But their success depends on you taking the right steps.

How to Take Care of Tape-In Extensions
Step-by-Step: How to Put in Tape-in Extensions
Wait 48 Hours After Installation Before Washing
After your stylist installs your tape-ins, don’t wash your hair for 48 hours. This gives the tape time to bond properly. Washing too early can weaken the glue and make the extensions fall out.
This wait is really important - even sweating too much during the first two days can affect the bond. Try to avoid intense workouts or saunas right after installation. Let your scalp stay dry while the adhesive settles.
Wash Your Hair Properly
- Wash only 2–3 times a week. Too much washing makes the tape sticky or loose.
- Use sulfate-free shampoo. Regular shampoo is too harsh and breaks down the adhesive.
- Don’t apply conditioner near the roots. Use it only on the mid-lengths and ends.
- Rinse with lukewarm water. Hot water can also weaken the tape.
- Hair is still thick and full from top to ends
- Plan Where to Place the Extensions: Think about where you want more volume or length. You might want more in the back or sides.
- Have All Tools Ready: Set everything out in front of your mirror so you’re not reaching or searching during the process.
Before washing, gently brush your hair to remove tangles. When you shampoo, focus only on the scalp and let the suds rinse down the rest. Avoid scrubbing near the tapes. Apply conditioner from the ears down - never on the roots or tape areas. Use your fingers or a wide-tooth comb in the shower to detangle.
After washing, gently press your hair with a soft towel to remove excess water. Don’t rub or twist your hair. This keeps the tapes from loosening and protects your hair from frizz and breakage.
Brushing Your Hair
- Brush gently, twice a day. Use a loop brush or soft bristle brush.
- Start at the ends and work up. Hold your hair above the section you're brushing.
- Never brush wet hair. Use a wide-tooth comb if needed when wet
- Hair is tangled or matted and hard to brush out
- Ends are frayed or split
- Hand Mirror: Helps you see the back of your head. This is a must if you're doing it by yourself.
- Extension Brush or Wide-Tooth Comb: Special brushes or wide combs won’t pull at your tape-ins. Regular brushes can tug and loosen them.
- Hair Straightener (Optional): Straightening your natural hair before and after helps everything blend better. You can also curl the final look for added bounce.
Brushing keeps your extensions looking neat and prevents tangling. Start from the ends and slowly move up, holding the hair gently to protect the tape. Be especially careful near the roots where the tapes sit.
A loop brush is designed for extensions and won’t pull on the bonds. If you don’t have one, use a soft paddle brush with flexible bristles. Avoid brushes with hard plastic tips or small balls on the ends—they can tug and damage the adhesive.
Drying Your Hair
- Always dry the tape area. Leaving it wet can lead to mold or weak tape.
- Blow-dry on cool or warm setting. Avoid high heat near the roots.
- Towel-dry gently. Dab and squeeze instead of rubbing.
- Hair is tangled or matted and hard to brush out
- Ends are frayed or split
- Hand Mirror: Helps you see the back of your head. This is a must if you're doing it by yourself.
- Extension Brush or Wide-Tooth Comb: Special brushes or wide combs won’t pull at your tape-ins. Regular brushes can tug and loosen them.
- Hair Straightener (Optional): Straightening your natural hair before and after helps everything blend better. You can also curl the final look for added bounce.
Letting your roots stay wet for too long can lead to matting or cause the tape to weaken. Even if you air dry the lengths of your hair, always blow-dry the top where the tapes are placed. This ensures the bonds stay strong.
If you're using a blow dryer, keep it on a low setting and hold it at least six inches away from your hair. Use your fingers to lift the hair and dry in sections, focusing on the roots first.
Styling Your Hair
- Use heat tools only with heat protectant. Stay under 350°F.
- Don’t apply heat directly on the tape. It can melt or loosen the bond.
- Avoid oily styling products at the roots. Oils loosen the adhesive.
- Hair is tangled or matted and hard to brush out
- Ends are frayed or split
- Hand Mirror: Helps you see the back of your head. This is a must if you're doing it by yourself.
- Extension Brush or Wide-Tooth Comb: Special brushes or wide combs won’t pull at your tape-ins. Regular brushes can tug and loosen them.
- Hair Straightener (Optional): Straightening your natural hair before and after helps everything blend better. You can also curl the final look for added bounce.
You can curl or straighten your extensions just like your natural hair, but be smart about it. Always spray on heat protectant first. Start your styling tool an inch below the root to avoid touching the tape.
If you love using styling creams or serums, keep them on the ends only. The tapes are sensitive to anything oily or sticky. Even dry shampoo should be applied carefully at the crown and not rubbed into the tape bonds.
How to Remove Tape-In Extensions Properly
The way you remove your extensions matters a lot. If you’re careful and gentle, they’ll stay in good shape and be easy to reuse. Here’s the right way to do it:
Get a remover made specifically for tape-ins. It breaks down the glue without damaging your hair. Spray it directly on the tape tab where the extension meets your natural hair.
Sleeping With Extensions
- Never sleep with wet hair. Always dry your hair first.
- Braid or tie your hair loosely. This prevents tangles.
- Use a silk or satin pillowcase. It reduces friction.
- Hair is tangled or matted and hard to brush out
- Ends are frayed or split
- Hand Mirror: Helps you see the back of your head. This is a must if you're doing it by yourself.
- Extension Brush or Wide-Tooth Comb: Special brushes or wide combs won’t pull at your tape-ins. Regular brushes can tug and loosen them.
- Hair Straightener (Optional): Straightening your natural hair before and after helps everything blend better. You can also curl the final look for added bounce.
Sleeping with tape-ins is easy once you get into a routine. Always brush your hair before bed. A loose braid or ponytail helps prevent tangling while you sleep.
Silk and satin pillowcases are super gentle on hair. They stop your hair from rubbing against rough fabric and keep both your natural hair and extensions smoother and shinier.
Swimming and Exercise
- Tie your hair in a braid or ponytail. Keeps it from tangling.
- Wet your hair before swimming. So it absorbs less chlorine or salt.
- Rinse and wash after swimming or sweating. Always dry the tape area.
- Hair is tangled or matted and hard to brush out
- Ends are frayed or split
- Hand Mirror: Helps you see the back of your head. This is a must if you're doing it by yourself.
- Extension Brush or Wide-Tooth Comb: Special brushes or wide combs won’t pull at your tape-ins. Regular brushes can tug and loosen them.
- Hair Straightener (Optional): Straightening your natural hair before and after helps everything blend better. You can also curl the final look for added bounce.
Tape-in extensions can handle swimming and workouts, but you need to protect them. Before swimming, wet your hair with clean water and apply leave-in conditioner to act as a barrier. Braiding your hair helps too.
After swimming or exercising, rinse your hair with clean water. Then gently shampoo and dry the roots. Don’t leave sweat or saltwater on your scalp for too long, as this can weaken the adhesive.
Long-Term Care
- Get touch-ups every 6–8 weeks. Extensions grow out with your natural hair.
- Store removed extensions flat and dry. In a box or bag until reuse.
- Avoid oily styling products at the roots. Oils loosen the adhesive.
- Hair is tangled or matted and hard to brush out
- Ends are frayed or split
- Hand Mirror: Helps you see the back of your head. This is a must if you're doing it by yourself.
- Extension Brush or Wide-Tooth Comb: Special brushes or wide combs won’t pull at your tape-ins. Regular brushes can tug and loosen them.
- Hair Straightener (Optional): Straightening your natural hair before and after helps everything blend better. You can also curl the final look for added bounce.
Over time, your hair grows and the tapes move away from your scalp. This can make them visible or harder to manage. Visit your stylist every 6–8 weeks to remove and reapply the extensions.
If you take care of the hair, it can be reused. After removal, clean each weft, let them dry fully, and store them flat in a box or sealed bag.
Step 5: Clean the Extension
Take off the old tape from the extension. Then wash the hair gently with a sulfate-free shampoo and let it dry flat. Avoid putting conditioner on the tape area.
Pro Tip:
Common Mistakes and How to Avoid Them
Over-washing
- The Damage: Frequent washing strips natural oils that keep both your hair and extensions healthy. It also loosens bonds faster and causes extensions to become dry, tangled, and brittle.
- How to Avoid: Wash only when your scalp feels genuinely dirty or oily. Use dry shampoo between washes. Train your hair to go longer between washes by gradually extending the time.
- Solution if Done: Deep condition weekly with protein-free masks. Switch to sulfate-free shampoo immediately. Reduce washing frequency gradually over 2-3 weeks.
- Don’t install if hair is wet or oily
- Hair Tangles Near the Tapes: Brush gently every day. Sleep with your hair in a loose braid or ponytail. Never sleep with wet hair.
- Check each weft. Make sure there’s no leftover glue or sticky residue.
- Apply new tape. Use double-sided extension tape made for reapplications.
- Line it up. Place the tape on the exact spot where the old one was. Press firmly.
- Install like new. Sandwich a small section of your hair between two tape tabs. Leave a little space (about a quarter inch) from the scalp.
Using the wrong products
- The Damage: Oils dissolve adhesive bonds, alcohol dries out hair causing breakage, and sulfates strip protective coatings from extensions. These ingredients cause slippage, matting, and premature wear.
- How to Avoid: Read every label. Avoid products with sulfates, alcohol (especially denat alcohol), and oils within 2 inches of your roots. Use extension-safe or clarifying shampoos.
- Solution if Done: Immediately stop using problematic products. Cleanse with a clarifying shampoo to remove buildup. Have your stylist check bond integrity at your next appointment.
- Avoid applying heat right away. Your hair needs rest before you can style it again. Before using heat styling tools, you should apply a heat protectant to your hair.
- The hair loses its volume and shape regardless of your styling efforts.
Brushing too harshly
- The Damage: Aggressive brushing pulls on attachment points, causing your natural hair to break or extensions to detach. It also creates friction that leads to matting and tangles.
- How to Avoid: Use a loop brush or wide-tooth comb. Start at the ends and work up in small sections. Hold the hair above where you're brushing to reduce tension on bonds.
- Solution if Done: If you notice excessive shedding or loose bonds, stop brushing immediately. Gently detangle with leave-in conditioner and fingers. See your stylist if bonds feel loose.
- Avoid applying heat right away. Your hair needs rest before you can style it again. Before using heat styling tools, you should apply a heat protectant to your hair.
- The hair loses its volume and shape regardless of your styling efforts.
Tape-ins should feel secure but not tight. If something doesn’t feel right, take it out and try again.
Maintenance Between Applications
Taking care of your extensions while wearing them is the best way to make sure they last longer.
Skipping maintenance
- The Damage: As your natural hair grows, extensions move down and become visible. Bonds weaken over time, causing slippage and potential damage to your natural hair from the weight pulling in the wrong direction.
- How to Avoid: Schedule your move-up appointment at installation. Set phone reminders. Don't wait until you see obvious regrowth.
- Solution if Done: If you've gone past 8 weeks, book an emergency appointment. Your stylist may need to remove and reinstall rather than just move up, which costs more.
- Avoid applying heat right away. Your hair needs rest before you can style it again. Before using heat styling tools, you should apply a heat protectant to your hair.
- The hair loses its volume and shape regardless of your styling efforts.
Removing extensions yourself
- The Damage: Improper removal can rip out your natural hair, damage your scalp, and leave adhesive residue that's difficult to remove. You risk losing significant amounts of your own hair.
- How to Avoid: Never attempt removal yourself. Always book professional removal appointments. Budget for removal costs when getting extensions.
- Solution if Done: If you've started DIY removal and caused damage, stop immediately. Apply deep conditioner to affected areas and see a professional stylist within 24 hours to assess and repair damage.
- Avoid applying heat right away. Your hair needs rest before you can style it again. Before using heat styling tools, you should apply a heat protectant to your hair.
- The hair loses its volume and shape regardless of your styling efforts.
Drying:
Brushing
Styling:
- Use heat tools on a low or medium setting
- Always use a heat protectant spray
- Avoid applying heat directly on the tape
- Avoid applying heat right away. Your hair needs rest before you can style it again. Before using heat styling tools, you should apply a heat protectant to your hair.
- The hair loses its volume and shape regardless of your styling efforts.
Storing:
- Wash and dry your extensions completely
- Store them flat in a clean, dry place
- Use a box, hanger, or zip bag to keep them dust-free
- Avoid applying heat right away. Your hair needs rest before you can style it again. Before using heat styling tools, you should apply a heat protectant to your hair.
- The hair loses its volume and shape regardless of your styling efforts.
If you’ve already made one of these mistakes, it’s okay. Just talk to your stylist, follow better care habits, and you’ll be back on track.
Is Reusing Tape-In Extensions Worth the Cost?
Yes, reusing tape-in extensions is usually worth the cost, especially if you maintain them well. Let’s break it down.
Initial Costs:
- Extensions: $200 to $600
- First installation: $100 to $300
- Use a box, hanger, or zip bag to keep them dust-free
- Avoid applying heat right away. Your hair needs rest before you can style it again. Before using heat styling tools, you should apply a heat protectant to your hair.
- The hair loses its volume and shape regardless of your styling efforts.
Reuse Costs:
- Tape tabs and remover: Around $20 total
- DIY reapplication: Free if you do it yourself
- Salon move-up: $100 to $200 every 6 to 8 weeks
- Avoid applying heat right away. Your hair needs rest before you can style it again. Before using heat styling tools, you should apply a heat protectant to your hair.
- The hair loses its volume and shape regardless of your styling efforts.
- Salon move-up: $100 to $200 every 6 to 8 weeks
- First installation: $100 to $300
- Use a box, hanger, or zip bag to keep them dust-free
- Avoid applying heat right away. Your hair needs rest before you can style it again. Before using heat styling tools, you should apply a heat protectant to your hair.
- The hair loses its volume and shape regardless of your styling efforts.
Savings Example:
If you reuse a $300 set of extensions three times, that’s $100 per wear. If you bought new hair every time, it would cost $900. Big difference, right?
The longer you make your extensions last, the more you save. It just takes a little effort.
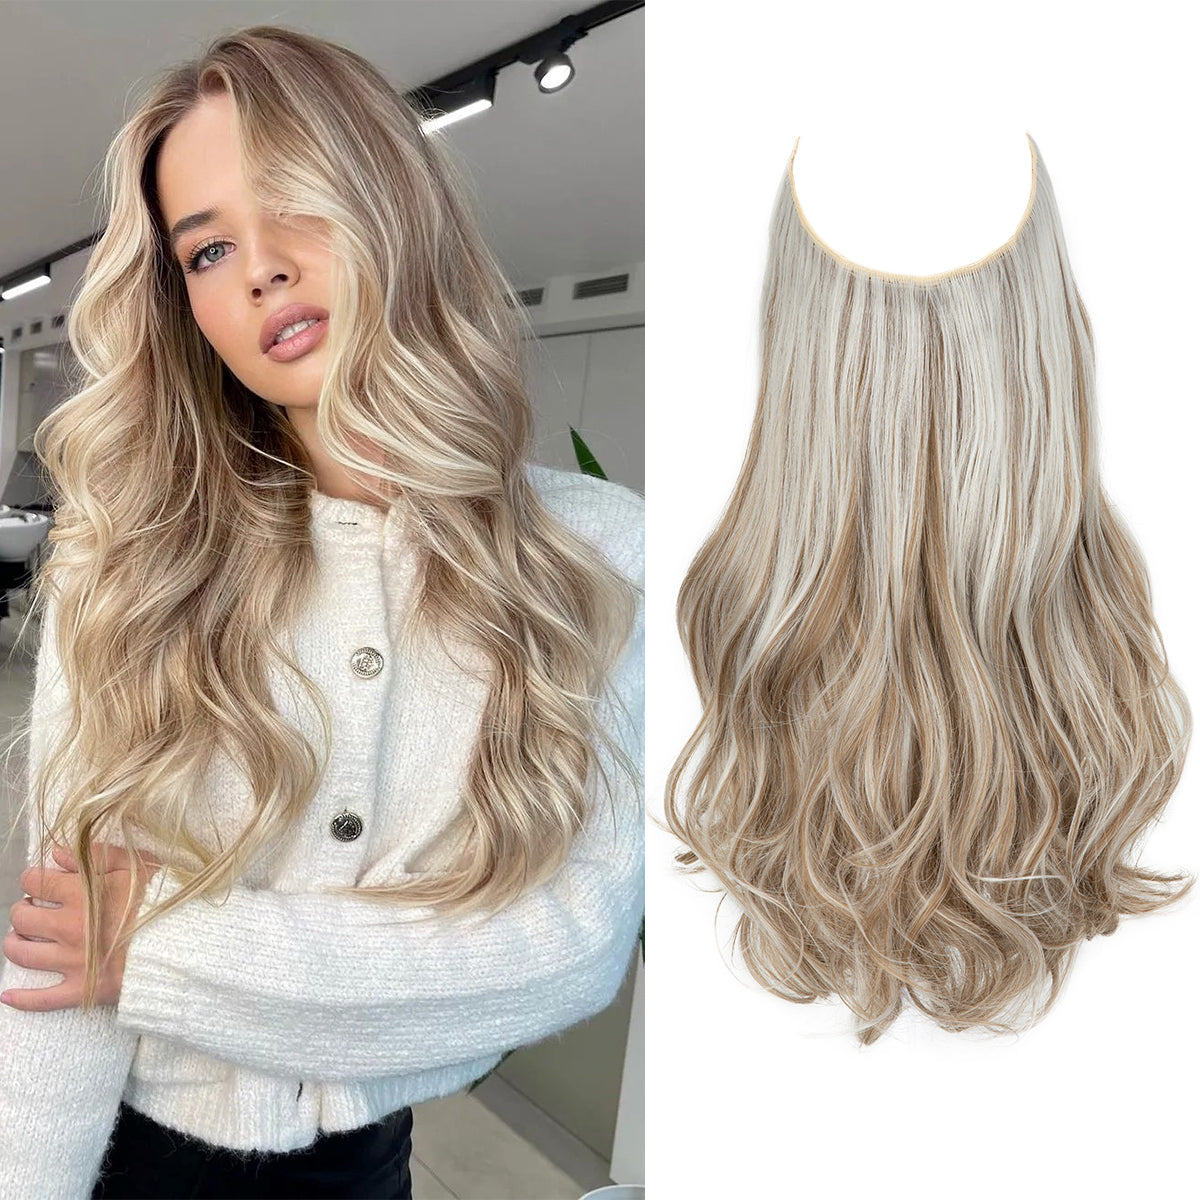
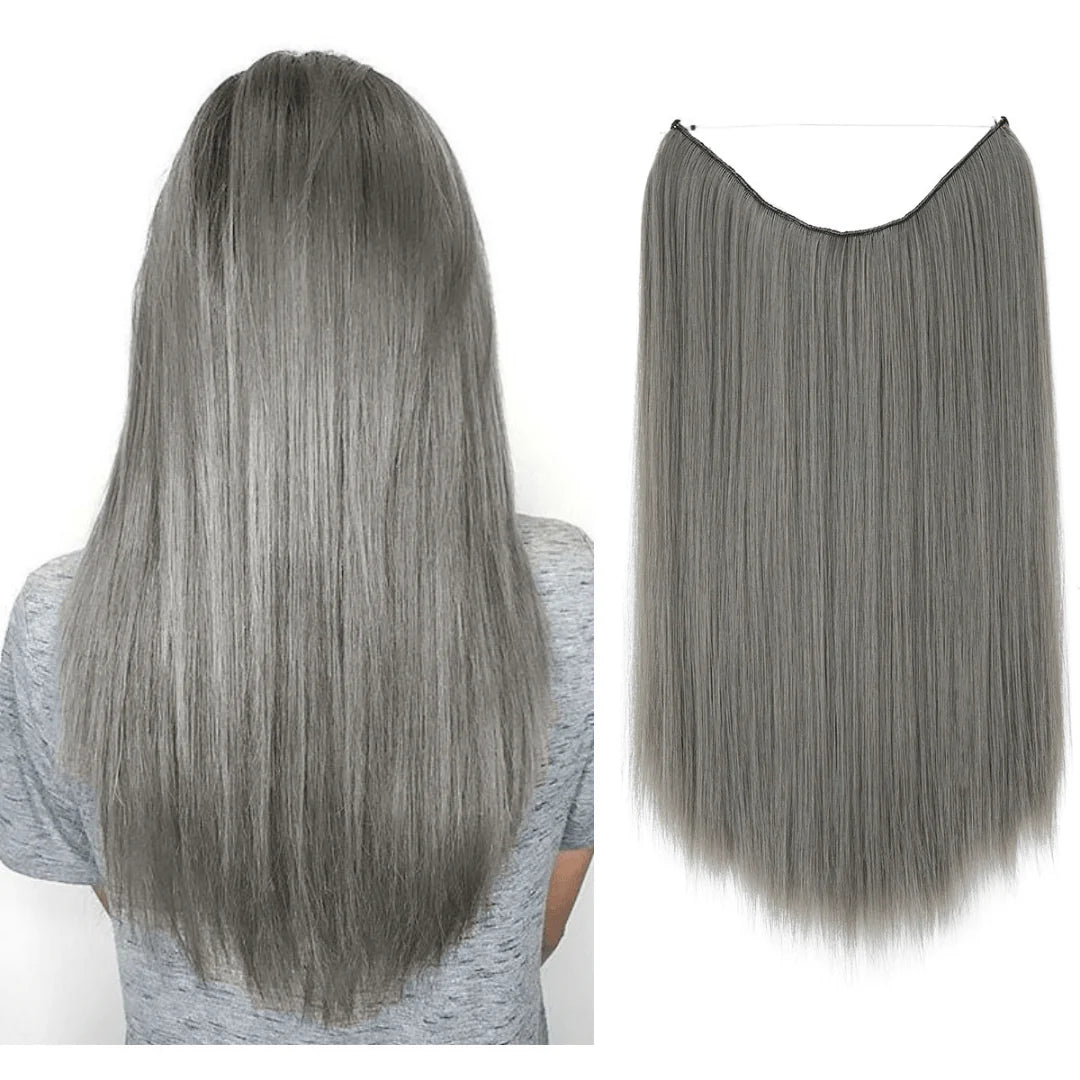
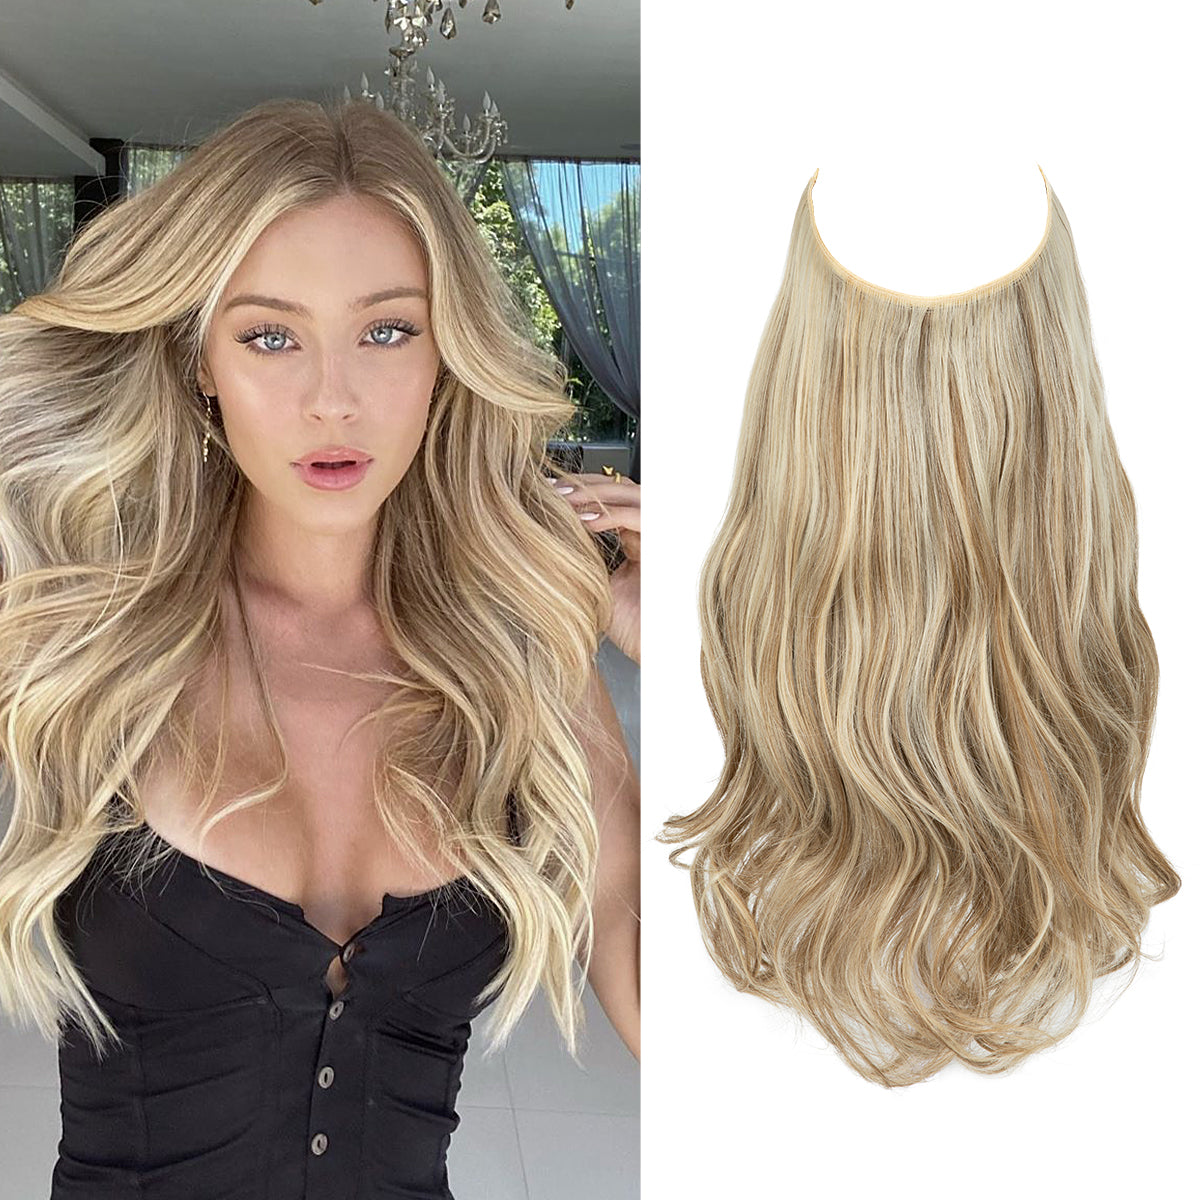
A Simpler Solution: Try ThatHair Halo Extensions
If the tape-in process sounds like too much work, we get it. That’s why we created the ThatHair Halo Extensions.
Halo extensions are the easiest way to add volume and length. No glue, no clips, no damage. Just a soft, invisible wire that sits on your head like a headband.
Why you’ll love ThatHair Halo:
- Installs in less than a minute
- No commitment or salon visits
- Totally damage-free
- Easy to wash and store
- Lasts for over a year with good care
You can take it off whenever you want, change your style as often as you like, and never worry about sticky tape or reapplications.
Final Thoughts
Tape-in extensions give you gorgeous, full hair, but they do need the right care. If you follow these steps, you’ll enjoy beautiful hair with fewer tangles, no damage, and longer-lasting wear. But if this routine feels like a lot, don’t worry. There’s another way.
Our Halo Hair Extensions are a great option if you want less maintenance and zero damage. They’re easy to put on, remove, and store—no glue, no tape, no fuss. Just perfect hair when you want it. Check out our Halo Extensions and see how simple and beautiful extensions can be.
Frequently Asked Questions
How long do tape-in extensions last with proper care?
Usually 6 to 8 weeks. Then they need to be moved up by your stylist.
Can tape-in extensions damage your natural hair?
Not if you care for them properly and have them installed and removed professionally.
Can you swim, exercise, and sleep with tape-ins?
Yes, but you need to rinse and dry your hair after. Sleep with your hair in a braid.
How do you know when it's time for maintenance?
If the tapes feel loose, far from the scalp, or start tangling near the roots.
Can you color or bleach your hair with tape-ins?
It's risky. Always consult a stylist. Never apply color to the tape itself.