Removing tape-in hair extensions might seem intimidating, but it doesn’t have to be. If you’ve been enjoying the length and volume of your tape-ins, you’ll eventually face the task of taking them out. The good news is that with the right approach, you can remove tape-in extensions at home safely and without damage.
In this guide, we’ll walk you through everything you need to know – from understanding how tape-ins work, to knowing when to take them out, prepping your tools, a step-by-step removal method, alternative techniques, common mistakes to avoid, aftercare tips, and even advice on reusing your extensions. By the end, you’ll feel confident about removing your tape-in extensions like a pro, keeping your natural hair healthy in the process.
Quality of Materials
Understanding Tape-In Extensions
Tape-in extensions are little pieces of hair with sticky tape at the top. A stylist attaches them near your roots by placing one weft under your hair and another on top, creating a "sandwich." This makes your hair look longer and thicker without the need for clips or glue.
The sticky part is made from a strong glue that holds for 6–8 weeks. The bond is strong enough to survive washing, brushing, and everyday wear. But if you try to pull them out without using the right remover, you could pull out your own hair or leave sticky glue behind. That’s why it’s super important to remove them the right way - gently and with the proper tools.
Tape-ins are popular because they look natural, lie flat, and don’t require heat tools for application. But they still need good maintenance and removal, or they can cause problems like matting or breakage. Understanding how they’re applied helps you see why proper removal is just as important.
- Tape-in Hair Extensions (40–60 pieces): Choose 100% human hair so it looks real and lasts longer. Human hair blends better, can be styled with heat, and reused multiple times. The more natural it looks, the more confident you’ll feel.
- Replacement Tape Tabs: These are sticky strips you’ll need to reapply extensions later. It’s always good to have extras on hand in case any tape loses its stick.
- Hair Extension Remover: This helps take off the extensions safely. It usually comes as an oil-based spray that dissolves the glue without damaging your own hair. You will need this in case you didn’t properly attach your extension and want to remove it promptly and reattach it correctly.
- Rat-Tail Comb: This long, skinny comb helps you make super neat partings in your hair. Clean sections make the extensions look natural.
- Hair Clips: Use them to hold up the hair you’re not working on. Sectioning is key to keeping the process smooth and organized.
- Hand Mirror: Helps you see the back of your head. This is a must if you're doing it by yourself.
- Extension Brush or Wide-Tooth Comb: Special brushes or wide combs won’t pull at your tape-ins. Regular brushes can tug and loosen them.
- Hair Straightener (Optional): Straightening your natural hair before and after helps everything blend better. You can also curl the final look for added bounce.
Having everything ready makes the whole process easier and more fun. Now let's get into the setup!
When Is the Right Time to Remove Tape-In Extensions
Here’s how you know it’s time to remove your tape-ins:
- It’s been 6–8 weeks: Your hair grows, and the tape moves down. Leaving it in too long can pull on your roots.
- Your extensions feel loose or slide around: This means the tape is losing its grip and could start tangling.
- You see knots or tangles near the tape: That’s a sign the extensions have grown out and are twisting with your natural hair.
- Your scalp feels itchy or sore: The glue might be irritating your skin, or product buildup could be causing discomfort.
- You notice breakage or shedding around the taped area: That means the extensions are putting pressure on your hair and could cause damage.
- Plan Where to Place the Extensions: Think about where you want more volume or length. You might want more in the back or sides.
- Have All Tools Ready: Set everything out in front of your mirror so you’re not reaching or searching during the process.
Removing your tape-ins on time helps protect your natural hair, keeps your scalp healthy, and makes sure you can reuse the extensions if they’re still in good shape. Even if everything seems fine, don’t go beyond 8 weeks.
Preparation Steps
Before you begin, gather everything you need. Good prep makes the whole process faster and way less stressful.
Tools and Products
- Tape-in extension remover (alcohol-based or oil-based)
- Tail comb or wide-tooth comb
- Hair clips for sectioning
- Cotton pads (optional, helps hold remover on the tape)
- Clarifying shampoo to wash away residue
- Hair oil or serum for detangling
- Old towel or t-shirt to protect your clothes
- Mirror with good lighting
Set Up
- Wash and dry your hair first so it’s clean and detangled.
- Set up your tools where you can reach everything.
- Plan to spend 30 to 90 minutes, depending on how many extensions you have.
- Make sure the room is well-ventilated if you're using alcohol-based remover.
- Clarifying shampoo to wash away residue
- Hair oil or serum for detangling
- Old towel or t-shirt to protect your clothes
- Mirror with good lighting
Being organized will make the whole thing go smoother. Think of it like setting up for a little DIY salon session at home.
How to Remove Tape-In Extensions Step by Step
Step 1: Section Your Hair
Start with dry, brushed hair. Use clips to section your hair horizontally. Begin at the bottom (near your neck) and work your way up. Keeping hair out of the way helps you see what you're doing.
Step 2: Apply Remover
Spray or dab remover onto the tape tab. Make sure it’s fully soaked. Wait at least 60 seconds so the remover can loosen the glue. Be patient — this step is key.
Step 3: Peel Apart the Tapes
Use your fingers or the tail of your comb to lift one side of the tape. Gently separate the top and bottom wefts. If they stick, stop and apply more remover.
Step 4: Remove Sticky Glue Left in Your Hair
Even after the extension is out, sticky residue often remains. Add a bit of oil or serum and gently rub the spot, then use your comb to remove leftover glue.
Step 5: Comb Through
Use a wide-tooth comb to detangle. You might notice some hairs coming out — that’s okay. These are strands that were naturally shedding but got trapped in the tape.
Step 6: Move Section by Section
Repeat the process for each row of extensions. Take your time. Don’t rush — your hair will thank you later.
Step 7: Wash and Rinse
Use clarifying shampoo to get rid of leftover remover, glue, and oil. This gives your hair a fresh, clean start. Avoid heavy conditioners until the next day so you don’t trap residue.
Bonus Tip:
If some extensions are extra stubborn, apply more remover and wait another minute. Never force it. More remover, not more pulling, is the golden rule.

The following section explains typical tape-in extension issues together with their causes and provides guidance on prevention and correction.
- Tapes Falling Out: Your hair might have been too oily or damp. Make sure it’s super clean and dry next time. You can also remove and reapply with new tape.
- Tapes Showing: Maybe they’re too high or not enough hair is covering them. Try moving them lower or adjusting your style.
- Tapes Feel Tight or Hurt: You may have put them too close to your scalp. Leave a little space next time.
- Hair Looks Uneven: If one side has more extensions than the other, move or add pieces until it looks balanced.
- Hair Tangles Near the Tapes: Brush gently every day. Sleep with your hair in a loose braid or ponytail. Never sleep with wet hair.
The essential approach involves moving at a slow pace while being delicate with your hair treatment.
Alternative Removal Methods
Oil-Based Remover
Natural oils like coconut, olive, or baby oil are gentle and great for sensitive scalps. They break down glue slowly but safely. Apply generously and let sit for 15–30 minutes before removing the tape.
Conditioner Method
Massage a thick, slippery conditioner into the tape. Let it sit. This works best with loose or already lifting extensions. It’s not as strong as oil or alcohol but worth trying.
Alcohol Spray
Use 91% rubbing alcohol to break down the glue quickly. It's fast and clean, but it can be drying. Always apply a moisturizing treatment afterward.
Combo Method
Start with oil to soften the glue, then use alcohol for a fast final release. This method is especially helpful if your tapes have been in for a long time.
Choose what fits your hair and your comfort level. If one doesn’t work well, try another or mix them for better results.
Common Issues and How to Avoid Them
Pulling Too Hard
This can pull out healthy hair and cause bald spots. Always add more remover if you feel resistance.
Not Using Enough Remover
If the tapes don’t move, they’re not ready. Don’t force them. Soak again and wait.
Using Heat Tools
Heat makes glue sticky and harder to clean. Never use a flat iron to "melt" the tape.
Forgetting to Wash
Skipping the clarifying shampoo leaves your hair tacky and heavy. Wash well, then deep condition the next day.
Reusing Dirty Extensions
Leftover glue can irritate your scalp and make re-taping hard. Always clean them before reuse.
Panicking Over Shed Hair
Some shedding is natural. It’s hair that got stuck in the tape. If you see a lot of short broken hairs, check your technique.
Post-Removal Care & Maintenance
Now it’s time to give your hair and scalp some love.
For Your Natural Hair:
- Use a deep conditioner or hair mask 1–2 days after removal.
- Avoid tight hairstyles for a week.
- Massage your scalp with gentle oils.
- Let your hair air dry more often.
- Sleep on a satin pillowcase to reduce breakage.
For the Extensions:
- Peel off any leftover tape.
- Wash gently with sulfate-free shampoo.
- Let them dry flat on a towel.
- Apply new tape if you're reusing them.
- Store in a clean, dry container or bag.
Can I Reuse Tape-In Extensions After Removal?
Yes, if they’re still in good condition.
Check for:
- Smooth, soft hair
- No heavy tangles or shedding
- Tape tab area not damaged
- Apply new tape if you're reusing them.
- Store in a clean, dry container or bag.
If they pass, clean and reapply new tape. Most high-quality extensions can be reused 2–3 times.
Don’t reuse if:
- The hair feels dry or frizzy
- Tape tabs are falling apart
- The extensions shed too much
- Apply new tape if you're reusing them.
- Store in a clean, dry container or bag.
Always clean before reusing. Dirty extensions can cause scalp issues and won’t hold tape properly.
If the tapes don’t move, they’re not ready. Don’t force them. Soak again and wait.
The small steps you take after each removal session benefit both your hair and extensions by extending their lifespan while maintaining their optimal condition
Final Thoughts
Removing tape-in extensions isn’t scary when you have the right plan. Take it slow, be gentle, and treat your hair with care. Your scalp and natural hair will feel better, and your extensions will last longer if you follow the right steps.
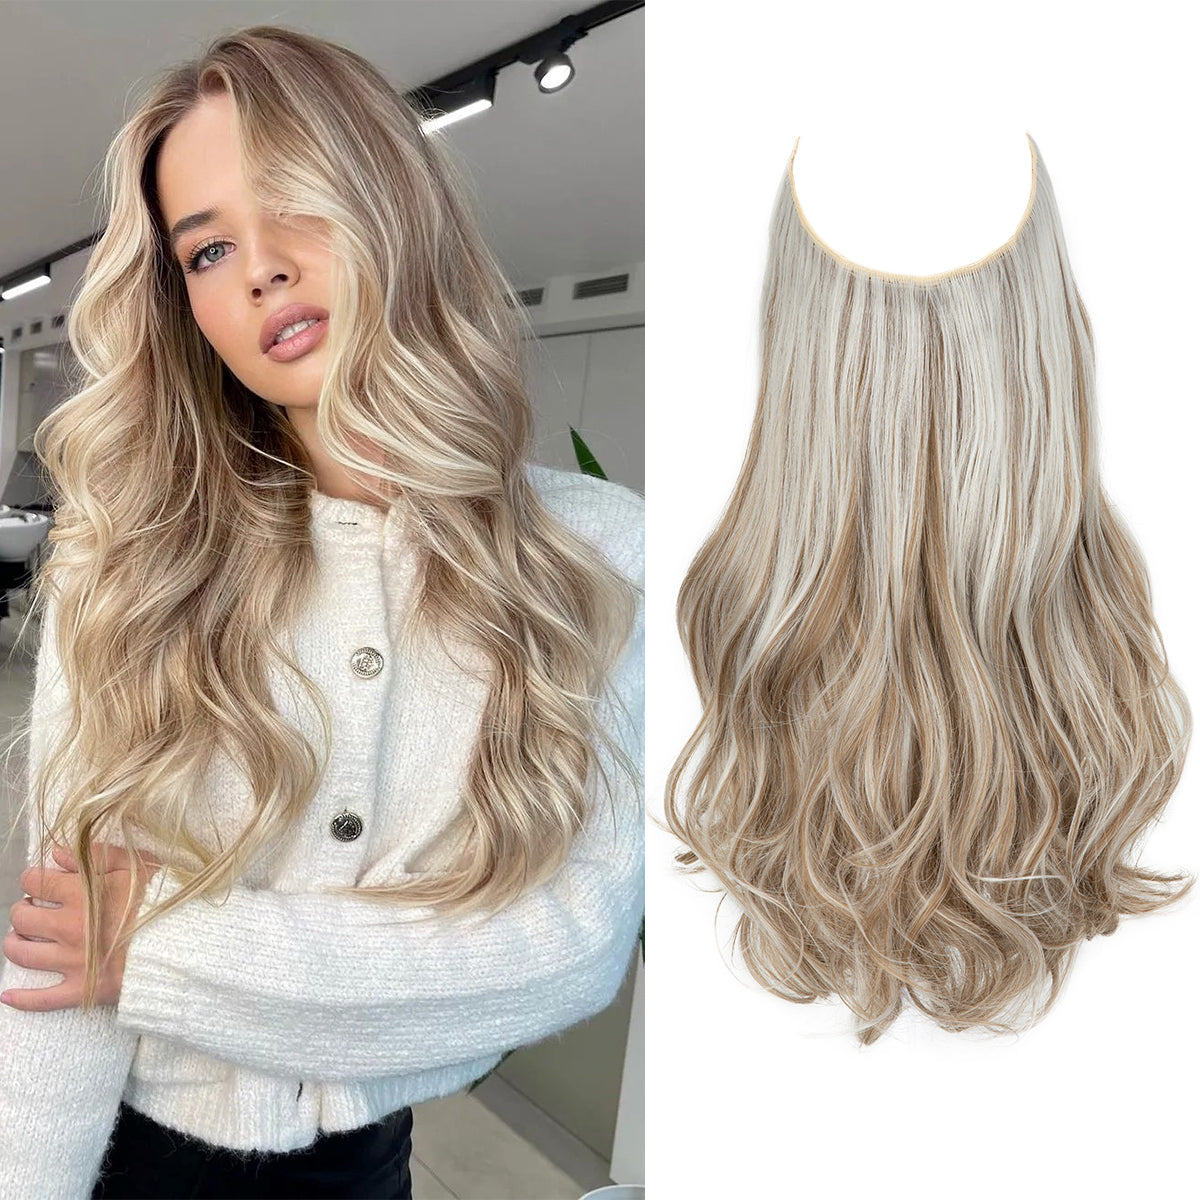
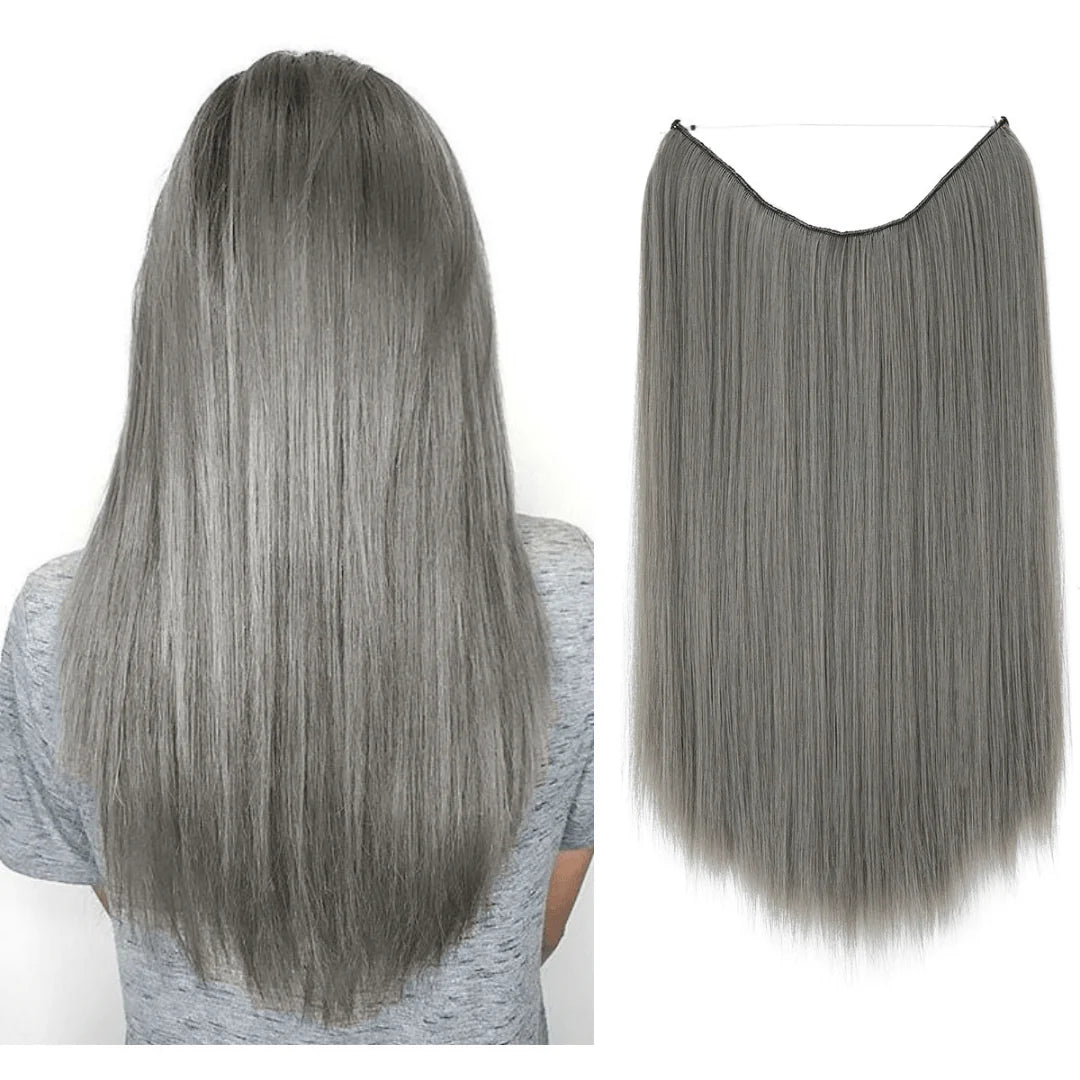
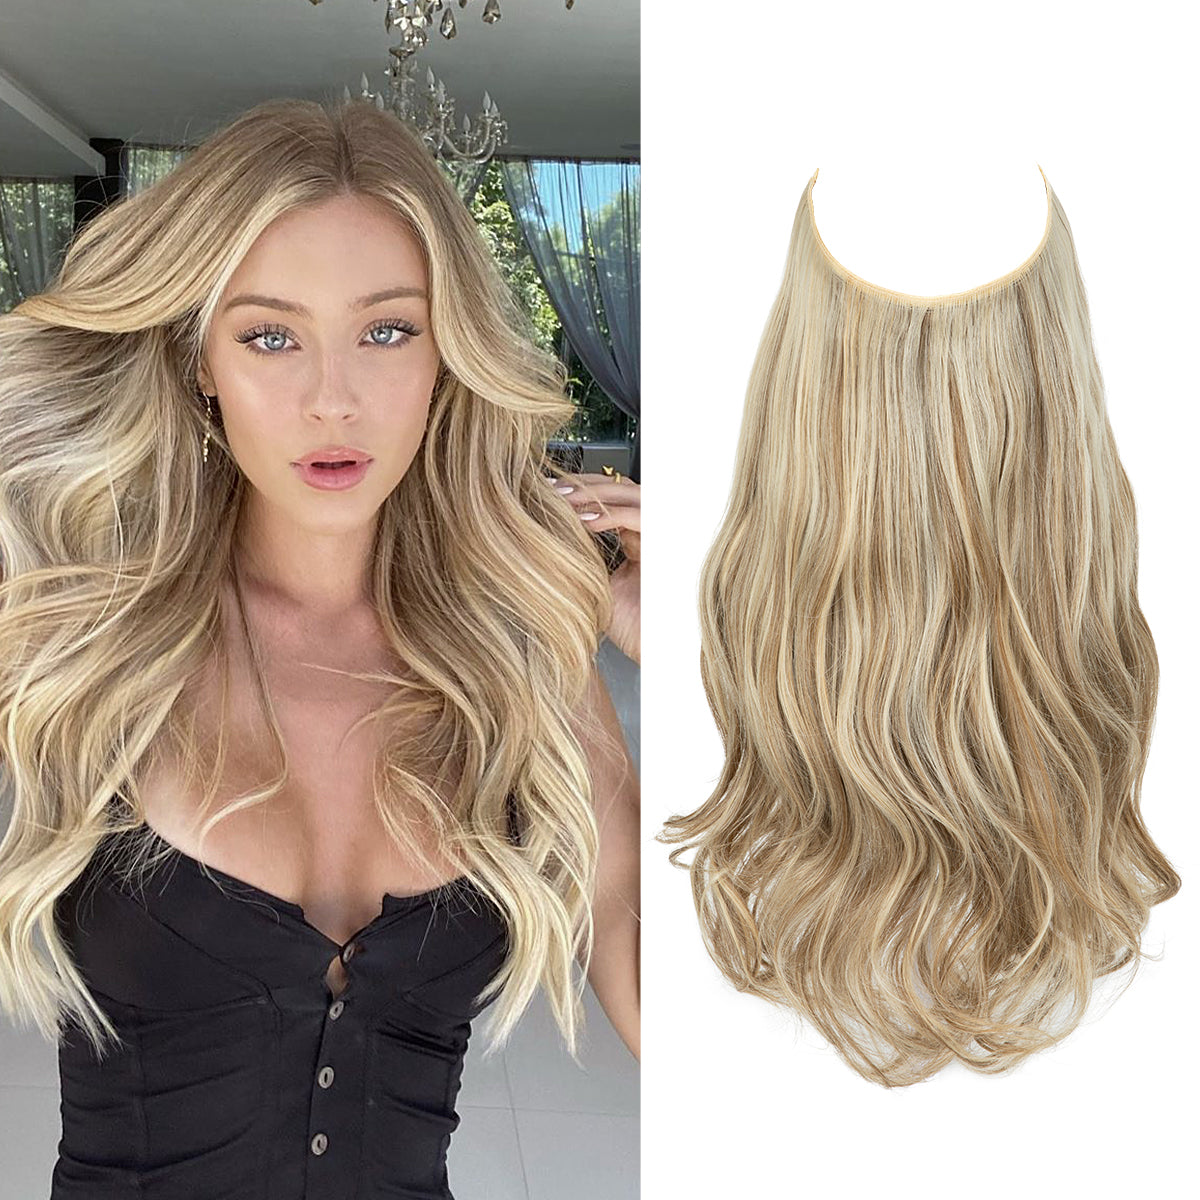
But if you’re tired of glue, tape, and all this effort, we get it. That’s why at ThatHair, we created Halo Hair Extensions - a totally different kind of extension. No glue, no damage, no stress. Just beautiful hair in seconds.
Our Halo Extensions sit on your head like a soft headband. They’re super easy to wear and remove, and they won’t pull or damage your real hair. If you want a break from tape-ins or just want an easier way to look amazing, our Halo extensions are perfect.
Related Products
Ivory Blonde Wavy
Dark Grey Straight
Bahama Beige Wavy

Josef Mohamed is a Content Marketer and Web Designer with over 6 years of experience.He brings a wealth of knowledge to his work, making him a reliable source for readers interested in practical insights about beauty. His writing style is straightforward, aiming to provide real facts and avoid common myths in the beauty industry.


