How to Wash Hair With In Tape-In Hair Extensions

Tape-in hair extensions can make your hair look longer and fuller in minutes. But if you don’t wash them the right way, they can slip out or get damaged. In this guide, we’ll show you exactly how to wash your hair while keeping your extensions in great shape.
By the end, you’ll feel confident about caring for your tape-ins and know exactly what to expect.
Quality of Materials
The 48-Hour Rule – Why You Must Wait Before Washing
Right after getting tape-in extensions, you need to wait 48 hours before washing your hair. Why? Because the tape needs time to fully stick to your hair. If you wash your hair too soon, the adhesive can lose its grip, and your extensions might fall out. If it gets wet during that time, the glue won't hold as well. That’s why we always tell our customers: wait at least two full days before washing.
During these two days, don’t go swimming, don’t use saunas, and try not to sweat a lot. Even tying your hair too tightly or playing with it too much can disturb the adhesive. Keep your hair dry and leave it alone. After 48 hours, the tape will be strong and ready for washing, brushing, and styling like normal.
- Tape-in Hair Extensions (40–60 pieces): Choose 100% human hair so it looks real and lasts longer. Human hair blends better, can be styled with heat, and reused multiple times. The more natural it looks, the more confident you’ll feel.
- Replacement Tape Tabs: These are sticky strips you’ll need to reapply extensions later. It’s always good to have extras on hand in case any tape loses its stick.
- Hair Extension Remover: This helps take off the extensions safely. It usually comes as an oil-based spray that dissolves the glue without damaging your own hair. You will need this in case you didn’t properly attach your extension and want to remove it promptly and reattach it correctly.
- Rat-Tail Comb: This long, skinny comb helps you make super neat partings in your hair. Clean sections make the extensions look natural.
- Hair Clips: Use them to hold up the hair you’re not working on. Sectioning is key to keeping the process smooth and organized.
- Hand Mirror: Helps you see the back of your head. This is a must if you're doing it by yourself.
- Extension Brush or Wide-Tooth Comb: Special brushes or wide combs won’t pull at your tape-ins. Regular brushes can tug and loosen them.
- Hair Straightener (Optional): Straightening your natural hair before and after helps everything blend better. You can also curl the final look for added bounce.
Having everything ready makes the whole process easier and more fun. Now let's get into the setup!
How to Wash Hair With Tape-In Extensions – Step-by-Step
Let’s break it down so it’s super easy to follow. You want your hair and extensions to stay clean, soft, and beautiful, right? These steps will help you do just that.
Removing your tape-ins on time helps protect your natural hair, keeps your scalp healthy, and makes sure you can reuse the extensions if they’re still in good shape. Even if everything seems fine, don’t go beyond 8 weeks.
1. Brush Before You Wash
Start by brushing your dry hair gently with a soft brush. This helps remove tangles and keeps your extensions from getting messy when wet.
Use a special extension brush or a loop brush that won’t pull on your roots. Start at the ends and work your way up slowly. Hold the hair near your scalp with one hand while brushing with the other to reduce tugging.
2. Use Warm (Not Hot) Water
Turn on the shower and make sure the water is warm, not hot. Hot water can weaken the tape. Tilt your head back and let the water flow down your hair, not over your face.
Why warm water? Because it cleans gently without making the tape soft. Hot water might feel relaxing, but it can loosen the glue holding your extensions. So always keep it warm, never hot.
3. Use the Right Shampoo
Pick a shampoo that’s sulfate-free. Sulfates are strong soaps that can dry out your natural hair and damage the tape.
Rub a small amount between your hands. Gently massage it into your scalp only, using your fingertips. Don’t rub in circles or use your nails. Be soft. You want your scalp clean, but the tape untouched.
4. Wash the Hair Length
After the scalp, run the shampoo down the rest of your hair with your fingers. Don’t rub your hair together. Use a downward motion to keep everything smooth.
This step helps keep your extensions clean too. You don’t need to lather the hair like a sponge. Just smooth it through and rinse well.
5. Rinse Really Well
Rinse all the shampoo out using warm water. Let the water go down your hair. Use your fingers to gently separate the sections and make sure no shampoo is stuck near the tape.
If any shampoo stays behind, it can build up over time and make the tape sticky or heavy. So rinse until the water runs clear.
6. Use Conditioner – But Not on the Tape
Only put conditioner on the middle and ends of your hair. Never put it near your scalp or tape. Conditioner can make the tape slip.
Let it sit for a few minutes, just like a mini spa treatment for your hair. Then rinse with cool or warm water. Your hair will be silky and soft.
7. Towel Dry Carefully
Use a soft towel to pat your hair dry. Don’t rub it or twist it into a towel wrap. Gently press the water out.
Be gentle like you’re handling a soft teddy bear. Rubbing too hard can create knots or pull on the extensions.
8. Dry the Tape First
Let your hair air dry as much as possible. But use a blow dryer on cool or low heat to dry the roots and tapes. This keeps the tape strong.
Leaving the tape wet too long can make it weak. Drying it helps it stay strong and hold for longer.
9. Brush Again When Damp
When your hair is almost dry, brush it gently. Start at the ends and work your way up. Hold the hair near the tape as you brush to avoid pulling.
If you brush too hard, the tape can get loose. Slow and gentle wins the race here.
10. Style with Care
If you want to use heat tools like a straightener or curling iron, don’t touch the tape. Only use them on the ends and middle. Always use a heat protectant spray.
Heat on the tape = big mistake. Keep tools away from your roots, and your extensions will last much longer.

How Often to Wash Tape-In Extensions
How often should you wash? The golden rule: 2 to 3 times a week.
Washing every day is too much. It makes the tape weak and dries out your hair. But if you don’t wash for too long, your scalp can get itchy or greasy. Let’s look at different hair types.
Oily Hair
If your scalp gets oily quickly, wash every 2-3 days. Use dry shampoo in between to keep things fresh. Only spray the roots, and not too close to the tape.
Dry or Curly Hair
Dry hair doesn’t need frequent washing. Washing once or twice a week is enough. You can even rinse with just water mid-week to refresh your hair.
If You Work Out or Sweat
Sweat can build up and cause the tape to loosen. Use a cool blow dryer to dry your roots after exercising. You can also do a water rinse without shampoo if needed.
Overwashing Hurts
Too much shampoo = weak tape + dry ends. Not washing at all = buildup and smelly hair. Find your perfect rhythm and stick to it.
Common Washing Mistakes and How to Avoid Them
Let’s fix the top mistakes people make when washing tape-ins.
Mistake 1: Washing Too Soon
Washing before 48 hours makes the tape come loose. Always wait the full 2 days.
Mistake 2: Using Harsh Products
Some shampoos have strong soap (sulfates) or silicone that makes the tape weak. Use only extension-safe shampoo and conditioner.
Mistake 3: Scrubbing in Circles
Scrubbing can make knots and pull on the tape. Massage your scalp gently with your fingers, not your nails.
Mistake 4: Towel Turban Wraps
Wrapping your hair in a towel can pull on wet extensions. Gently squeeze with a soft towel or T-shirt.
Mistake 5: Heat on Tape
Using a straightener or curler near the tape can melt it. Keep heat tools on the lower half of your hair only.
Mistake 6: Sleeping with Wet Hair
Wet hair tangles easily. Always dry your hair before going to bed. Sleep with a loose braid to keep it neat.
Mistake 7: Not Rinsing Properly
Leftover shampoo near the tape can make it sticky. Always rinse until the water runs clear.
Mistake 8: Forgetting to Dry the Tape
Leaving the tape area damp too long can weaken the bond. Use a blow dryer on cool to gently dry the tape after washing.
Fixing mistakes is easy if you catch them early. But if your tape starts to slip or feel weird, visit your stylist for help.
The following section explains typical tape-in extension issues together with their causes and provides guidance on prevention and correction.
- Tapes Falling Out: Your hair might have been too oily or damp. Make sure it’s super clean and dry next time. You can also remove and reapply with new tape.
- Tapes Showing: Maybe they’re too high or not enough hair is covering them. Try moving them lower or adjusting your style.
- Tapes Feel Tight or Hurt: You may have put them too close to your scalp. Leave a little space next time.
- Hair Looks Uneven: If one side has more extensions than the other, move or add pieces until it looks balanced.
- Hair Tangles Near the Tapes: Brush gently every day. Sleep with your hair in a loose braid or ponytail. Never sleep with wet hair.
The essential approach involves moving at a slow pace while being delicate with your hair treatment.
If the tapes don’t move, they’re not ready. Don’t force them. Soak again and wait.
The small steps you take after each removal session benefit both your hair and extensions by extending their lifespan while maintaining their optimal condition
Final Thoughts
Washing your tape-in extensions the right way takes a little time, but it makes a big difference. Wait 48 hours after getting them, wash gently, don’t overdo it, and treat your hair like it’s precious – because it is!
Still, tape-ins come with a lot of work. What if you could get the same full, beautiful look without the rules, washing tips, and tape?
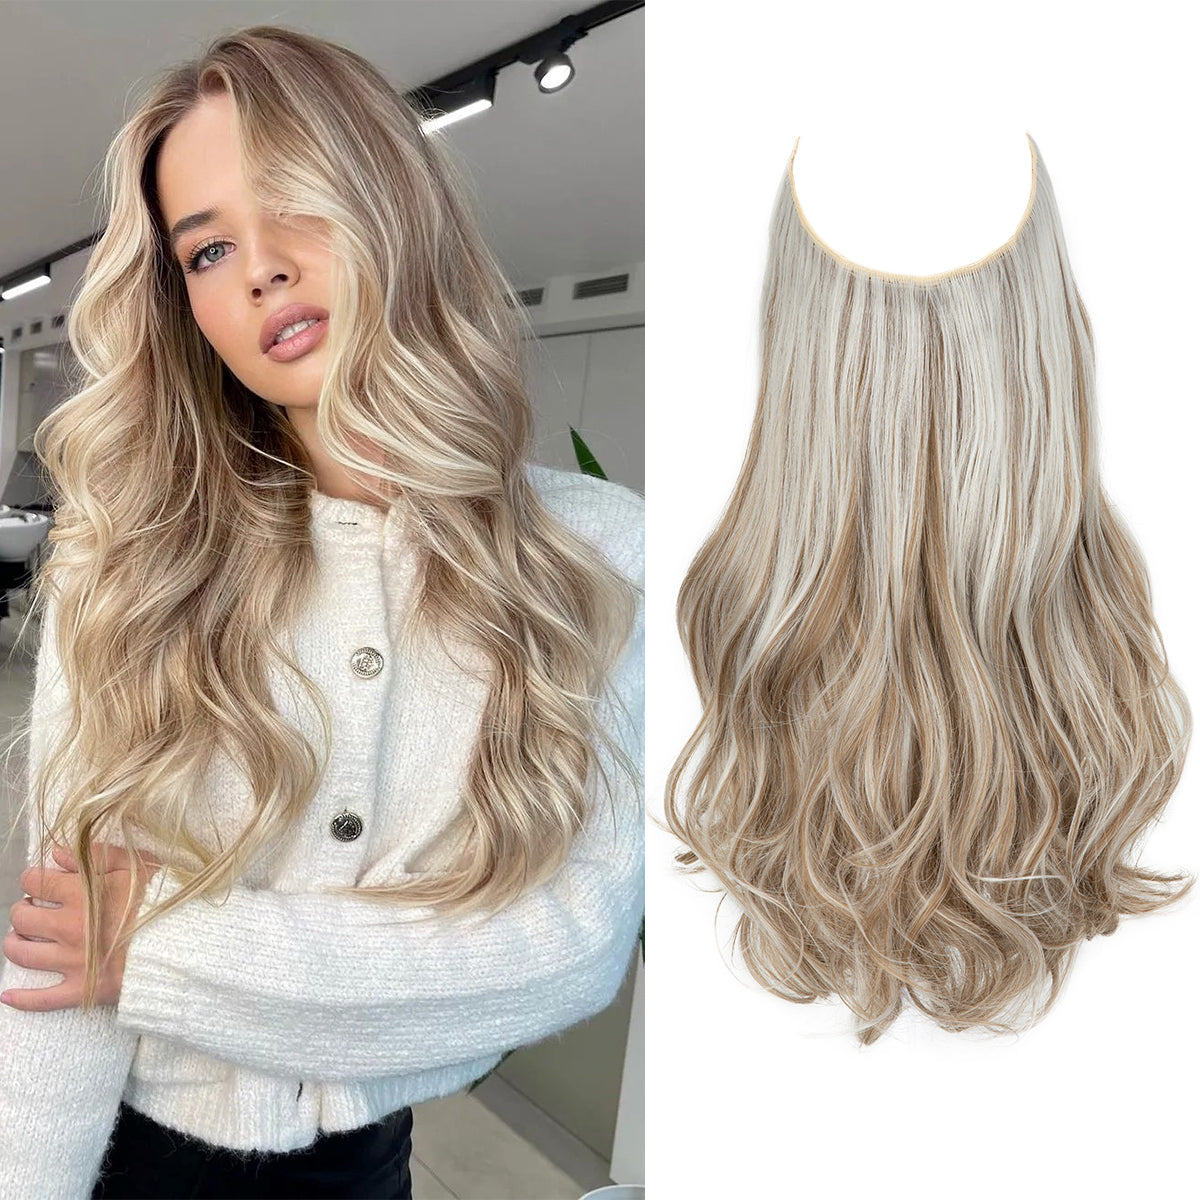
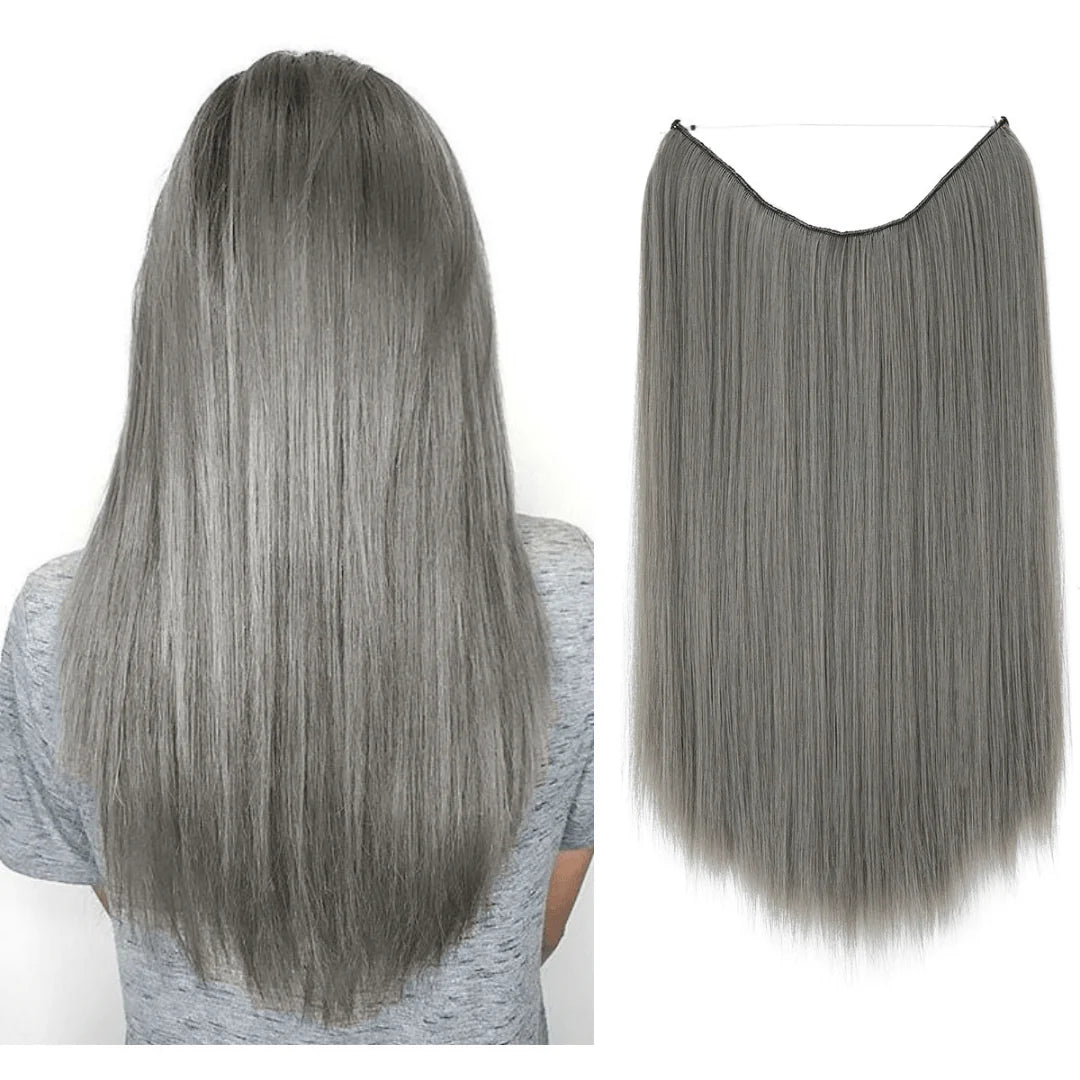
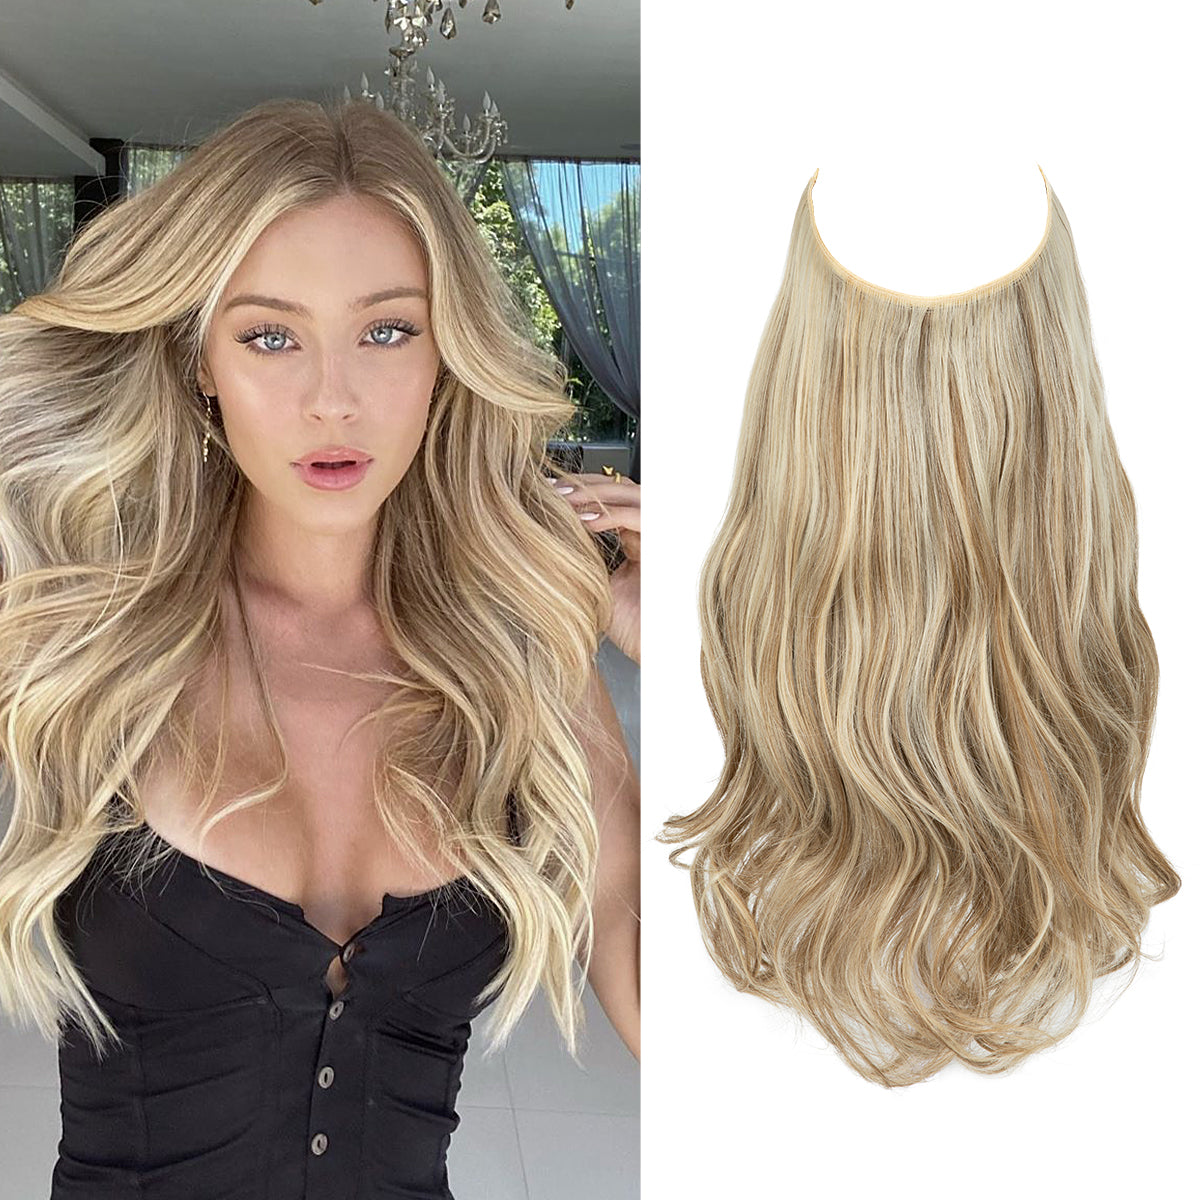
That’s where Thathair Halo Extensions come in.
At Thathair, we made our halos soft, lightweight, and easy to blend with your natural hair. They look amazing, and they feel like nothing at all.
So if you want thick, stunning hair but don’t want the hassle of tape-ins, try our halo extensions. It’s beauty made simple – and that’s the way it should be.
You’ve got this. And we’ve got your back.