How Many Tape-In Hair Extensions Do I Need

Getting hair extensions is exciting, but one common question is how many tape-in extensions you need. You might be afraid of getting too few (leading to a thin, patchy look) or too many (causing discomfort or damage).
Don't worry - we're here to help you figure out the perfect amount. In this guide, we'll walk you through everything from what tape-in extensions are to how many you need for different hair types and goals, plus common mistakes to avoid. By the end, you'll know how many tape-ins you need.
Quality of Materials
How Many Tape-In Extensions Do I Really Need?
The number of tape-in extension pieces you need depends mainly on your natural hair's thickness and your desired outcome. For a typical full-head installation, most people use around 30 to 40 individual tape-in wefts in total.
This is usually enough to add good length and volume while still blending with your hair. Many stylists recommend starting with about 40 pieces (20 “sandwiches”) for a full head – that way, if you have a few extra, it's better than running short. If your hair is very fine or thin, you might use a little less (closer to 30 pieces), and if your hair is very thick or coarse, you might need 60 or even 80 pieces for a seamless, full look.
- Tape-in Hair Extensions (40–60 pieces): Choose 100% human hair so it looks real and lasts longer. Human hair blends better, can be styled with heat, and reused multiple times. The more natural it looks, the more confident you’ll feel.
- Replacement Tape Tabs: These are sticky strips you’ll need to reapply extensions later. It’s always good to have extras on hand in case any tape loses its stick.
- Hair Extension Remover: This helps take off the extensions safely. It usually comes as an oil-based spray that dissolves the glue without damaging your own hair. You will need this in case you didn’t properly attach your extension and want to remove it promptly and reattach it correctly.
- Rat-Tail Comb: This long, skinny comb helps you make super neat partings in your hair. Clean sections make the extensions look natural.
- Hair Clips: Use them to hold up the hair you’re not working on. Sectioning is key to keeping the process smooth and organized.
- Hand Mirror: Helps you see the back of your head. This is a must if you're doing it by yourself.
- Extension Brush or Wide-Tooth Comb: Special brushes or wide combs won’t pull at your tape-ins. Regular brushes can tug and loosen them.
- Hair Straightener (Optional): Straightening your natural hair before and after helps everything blend better. You can also curl the final look for added bounce.
Having everything ready makes the whole process easier and more fun. Now let's get into the setup!
Preparation Before You Start
Getting your tape-in extensions right starts with solid preparation. If you take a few extra minutes to set things up properly, the rest of the process will go much smoother, and the results will look much more natural.
Before putting in the extensions, do this checklist:
- Match the Extensions: Make sure your extensions match your hair color and texture. Check the color in natural light.
- Wash Your Hair: Use only shampoo. Skip the conditioner so the tape sticks better. Don’t use any styling products either.
- Dry It Fully: Your hair needs to be completely dry. Even a little dampness can make the tape slip.
- Straighten If Needed: Straight hair is easier to part and helps the tape sit flat.
- Check Hair Length: Your natural hair should be at least 3 to 4 inches long. That’s enough to hold the tape and cover the tabs.
- Plan Where to Place the Extensions: Think about where you want more volume or length. You might want more in the back or sides.
- Have All Tools Ready: Set everything out in front of your mirror so you’re not reaching or searching during the process.
Understanding Tape-In extensions
Tape-ins are a popular semi-permanent extension method. They come as small strips of hair (called wefts) that have a medical-grade adhesive tape at the top. To install them, a stylist sandwiches a thin slice of your hair between two tape-in wefts (taping them together with your hair in between).
This creates a secure bond that lies flat against your head. If you have extra-fine hair, sometimes a single-sided tape method is used - one weft plus a single-sided tape tab - to reduce the weight on your hair. Each weft is lightweight (only a couple of grams), but you'll need several wefts to get the volume and length you want.
Packaging and Sizes
Tape-ins are sold in packs, and the pack size can vary by brand. Often, one pack contains 20 pieces or sometimes 40 pieces. Keep in mind the weight of the hair too - for example, 40 pieces is roughly 100 grams of hair. Most full heads use around 100–150g of hair for a full installation. If you choose extra-long extensions, you might need a bit more hair since each piece is heavier. Generally, for an average-length style, starting with around 40 pieces (approximately 100g) is a safe bet; then adjust up or down based on your hair's thickness.
Next, let's see how your specific hair type affects the number of tape-ins you’ll need.
How Many Tape-In Extensions Do I Need Based on My Hair Type?
Your hair type (thickness and texture) plays a big role in determining the right amount of extensions. Here’s a guide by hair type:
Fine or Thin Hair
Thin, baby-fine hair cannot hide a lot of extensions and can’t handle much weight. Typically, about 20 to 40 pieces (around 50–100g of hair) is enough for a full head of fine hair. This will add volume and some length without straining your roots or showing the tapes.
Pro Tip: Use single-sided tape sandwiches (only one extension weft instead of two in each bond) to lighten the load on your hair - this helps prevent tapes from slipping out of super fine strands.
Medium or Normal Hair
For average thickness hair, you’re looking at 40 to 50 pieces (around 100–125g). One standard pack of 40 pieces is often plenty for medium hair. If you’re just adding volume, you might use a little less (around 30 pieces), or a little more if you want a lot of length.
Pro Tip: Have your stylist cut a few layers after installing the extensions - this blending trim will ensure your real hair and the extensions mix seamlessly, with no obvious line where your hair ends.
Thick or Coarse Hair
If your hair is thick or coarse, plan on 60 or more pieces (around 150–200g of hair) for a full installation. To blend with a very thick mane, you need plenty of extensions distributed throughout; otherwise, the ends of your natural hair may be too bulky compared to the extensions.
Pro Tip: Before installing extensions, stylists often recommend thinning or layering the ends of very thick hair a little. This removes the blunt edge and helps your hair blend flawlessly into the extensions.
Curly or Wavy Hair:
You can use tape-ins with curly hair – just match the extension texture to your curl pattern for best results. The number of pieces needed depends on your hair’s density. Fine, curly hair might need 30-40 pieces, while very thick, curly hair could require 60+ pieces (similar to other thick hair scenarios).
Pro Tip: Use extensions with a curl pattern that matches your own so you won’t have to constantly style them to blend.
Now, beyond hair type, the purpose of your extensions matters too. Are you looking to add volume, add length, or both? Let’s break down how your goals influence how many tape-ins you should get.

How Many Tape-In Extensions Do I Need Based on My Hair Goals?
Your extension strategy will differ if you want just a subtle boost versus a dramatic change. Here are common goals and the recommended extension quantities:
Add Volume Only (No Length)
If you love your current hair length but want more fullness, you can go for a partial installation focused on volume. Often, 20-30 pieces (~50-75g) is plenty to give fine to medium hair a nice volume boost. You can place these around the sides and back where you want extra fullness.
Pro Tip: Have the extension hair cut to the same length as your own hair when adding volume. This makes the extensions invisible and just adds thickness – no one will know you have extensions, they'll just see fuller hair.
Add Length
To get longer hair, especially a big jump in length, you will need more extensions than you’d use for volume alone. Plan on roughly 40-60 pieces for a significant length increase. If your hair is short and thick, you might even need up to 80 pieces to ensure a natural blend.
Pro Tip: When adding a lot of length, a blending haircut after the extensions are in is crucial. Your stylist will trim and layer the extensions to merge with your natural hair, ensuring a smooth transition between your hair and the extensions.
Partial Transformation (Half Head or Specific Areas)
If you only want extensions in certain spots (for example, just the sides or only the lower half of your head), you might use about 10-30 pieces in total. Partial installs can make a nice difference with less hair. Just be mindful: if extensions are only in one area, some hairstyles might reveal the contrast between your extensions and your natural hair.
Full Transformation (Length and Volume)
If you’re going for a complete makeover – significantly longer and thicker hair all at once – you’ll likely need the maximum amount of hair. This often means 150-200 grams of hair (which could be about 40-80 pieces). Spread out around your head, this will deliver that ultra-full, Rapunzel look you’re dreaming of.
Pro Tip: When in doubt, have a little extra hair on hand. It's better to end up with a few pieces left over than to come up short mid-appointment.
By now, you should have a good idea of the range of extension pieces you might need for your situation. Finally, let's cover some common mistakes people make with tape-in extensions and how to avoid them, so your journey to fabulous hair is as smooth as possible.
Common Mistakes and Solutions
Even with the perfect number of tape-ins, there are pitfalls to watch out for. Here are some common mistakes with tape-in extensions and tips on how to prevent or fix them:
- Tapes Falling Out: Your hair might have been too oily or damp. Make sure it’s super clean and dry next time. You can also remove and reapply with new tape.
- Tapes Showing: Maybe they’re too high or not enough hair is covering them. Try moving them lower or adjusting your style.
- Tapes Feel Tight or Hurt: You may have put them too close to your scalp. Leave a little space next time.
- Hair Looks Uneven: If one side has more extensions than the other, move or add pieces until it looks balanced.
- Hair Tangles Near the Tapes: Brush gently every day. Sleep with your hair in a loose braid or ponytail. Never sleep with wet hair.
The essential approach involves moving at a slow pace while being delicate with your hair treatment.
To get the most out of your tape-in extensions, aftercare is key. A little extra attention goes a long way in keeping them looking fresh and helping them last longer.
Mistake 1: Using the Wrong Number of Extensions
Too few extensions can leave your hair looking sparse (with tapes peeking through), while too many can overwhelm or strain your hair.
Cause: This often happens by misjudging your needs or trying to skimp on the number of pieces.
Prevention: Follow the guidelines for your hair type – for example, don't try to get away with only 10 pieces if you really need 40. And remember, fine hair can’t handle as many extensions as thick hair.
Fix: If you don't have enough extensions installed, a stylist can always add a few more to fill in the gaps. If you have too many and it feels heavy or uncomfortable (especially on fine hair), a pro can remove some wefts or even use single-sided tapes in certain spots to lighten the load.
Mistake 2: Poor Installation or Placement
Bad installation can cause extensions to slip out, stick up, or cause pain.
Cause: This often happens with DIY installs or inexperienced stylists - for example, using the wrong amount of hair in the sandwich or placing the tapes too close to the scalp or hairline.
Prevention: Have a trained professional apply the extensions on clean, product-free hair. They will section your hair properly and use the right amount of hair in each tape “sandwich.” Proper placement is key - tapes should be about 1/4 inch away from your scalp so they can move freely without tugging or showing.
Fix: If a tape-in was applied incorrectly and is slipping or pulling, don't try to fix it yourself. Go back to your stylist; they can remove the misapplied extension and reapply it correctly with a fresh tape. It’s a quick fix for them and will save your hair from damage.
Mistake 3: Ignoring Maintenance and Aftercare
Once tape-ins are in, you do need to treat them with some TLC.
Cause: Using the wrong products (like oily or sulfate-heavy shampoos) can break down the tape adhesive, and rough handling can tangle or loosen your extensions.
Prevention: Use sulfate-free, extension-safe hair products and avoid applying conditioner or oils near the roots/tape bonds. Brush your hair gently, holding your roots (so you don't tug on the tapes). Braid or tie your hair before bed to prevent tangling. Also, avoid putting high heat directly on the tape tabs (excessive heat can weaken the adhesive).
Fix: If a tape starts to come loose, have your stylist re-tape it properly. Gently detangle any small knots with conditioner and a wide-tooth comb. (If you encounter a serious matting situation, it's best to have a professional handle the removal and reinstallation.)
Longevity of Your Tape-Ins
The longevity of your tape-in extensions depends on several factors, including how well you care for them and your natural hair's growth rate. On average, tape-in extensions can last 6-8 weeks before needing to be reapplied, as your natural hair will have grown enough to cause the adhesive to loosen. When your tape-ins start to feel loose or start to show noticeable gaps, it’s time to consider reapplication.
When and How to Reapply You Tape-In Extensions
With proper care, you can reuse your tape-ins for up to 2-3 applications, depending on the quality of the extensions and how well they are maintained.
To reapply tape-in extensions, start by removing the old extensions using a tape-in remover or oil-based solution, then clean both the extensions and your natural hair. Once dry, apply fresh adhesive tape to the extensions, ensuring it's securely attached. Section your hair, sandwich the extensions between your natural hair, and press firmly to secure them in place. Finish by styling as desired and brushing gently to prevent tangling. Ensure the tape is dry and free of oil to maintain a strong bond for long-lasting wear.
- Begin by brushing your natural hair with care with a wide-tooth comb to eliminate any remaining tangles.
- Apply a leave-in conditioner to maintain hair softness and hydration.
- Apply a lightweight hair oil to your scalp when it feels tight or dry because this will help boost circulation.
- Avoid applying heat right away. Your hair needs rest before you can style it again. Before using heat styling tools, you should apply a heat protectant to your hair.
- The hair loses its volume and shape regardless of your styling efforts.
The small steps you take after each removal session benefit both your hair and extensions by extending their lifespan while maintaining their optimal condition
Final Thoughts
Tape-in extensions can give you the hair of your dreams, as long as you apply and care for them correctly. The key is planning: figure out how many pieces you need for your hair and goals, invest in good-quality human hair extensions, and have them professionally installed and maintained. Do that, and you'll have long, voluminous locks that look fabulous and feel natural.
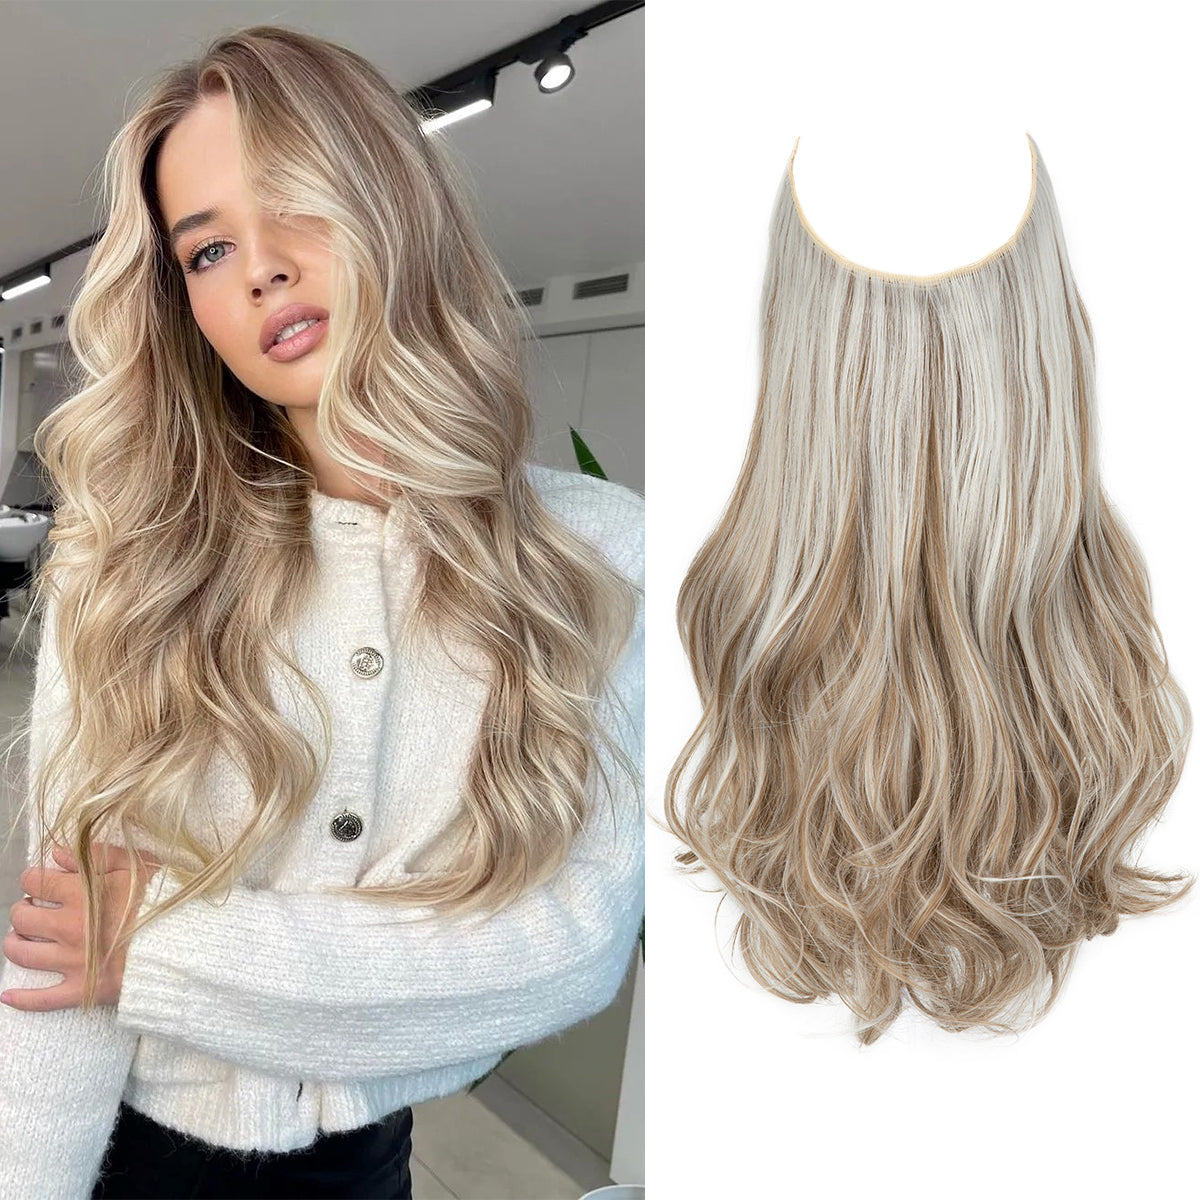
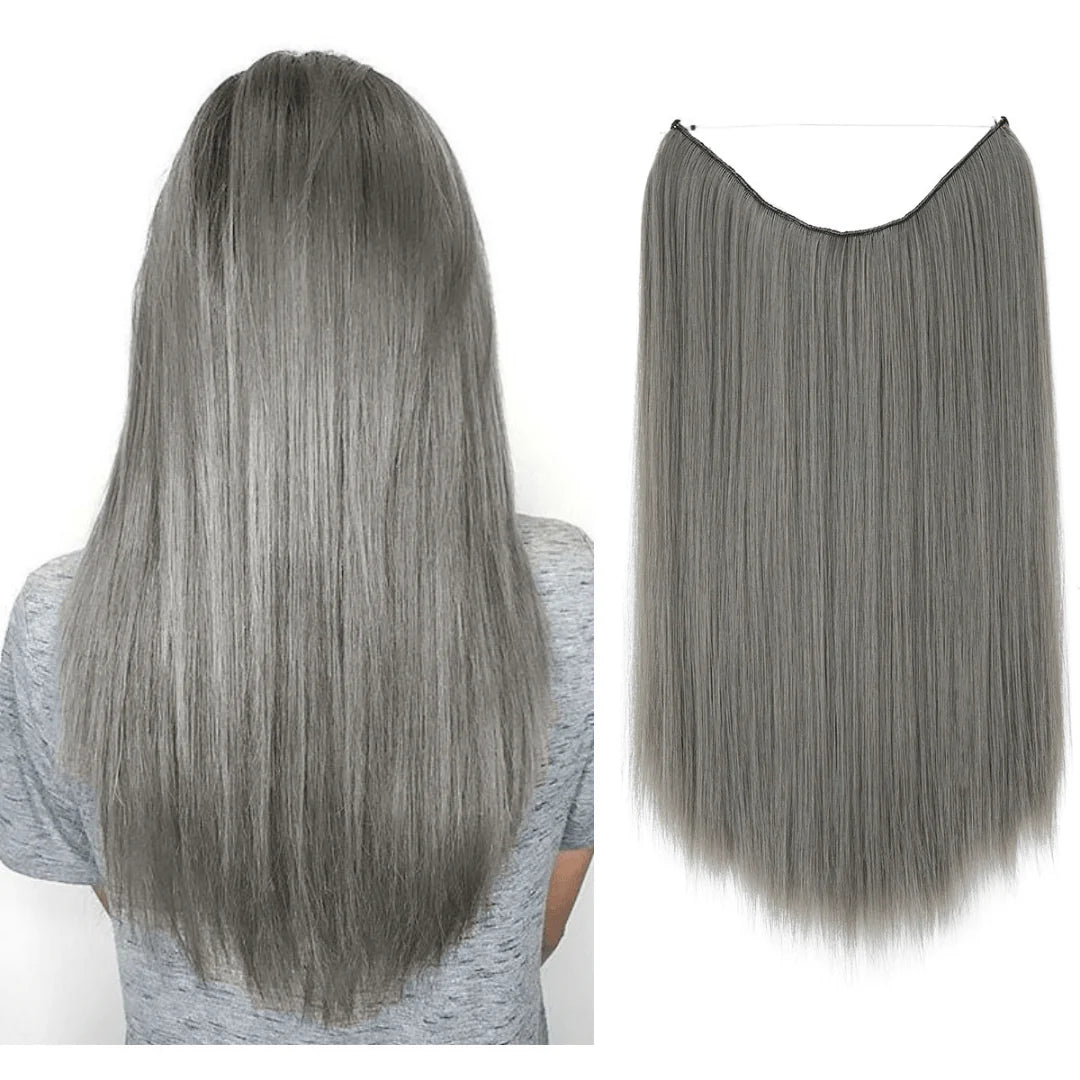
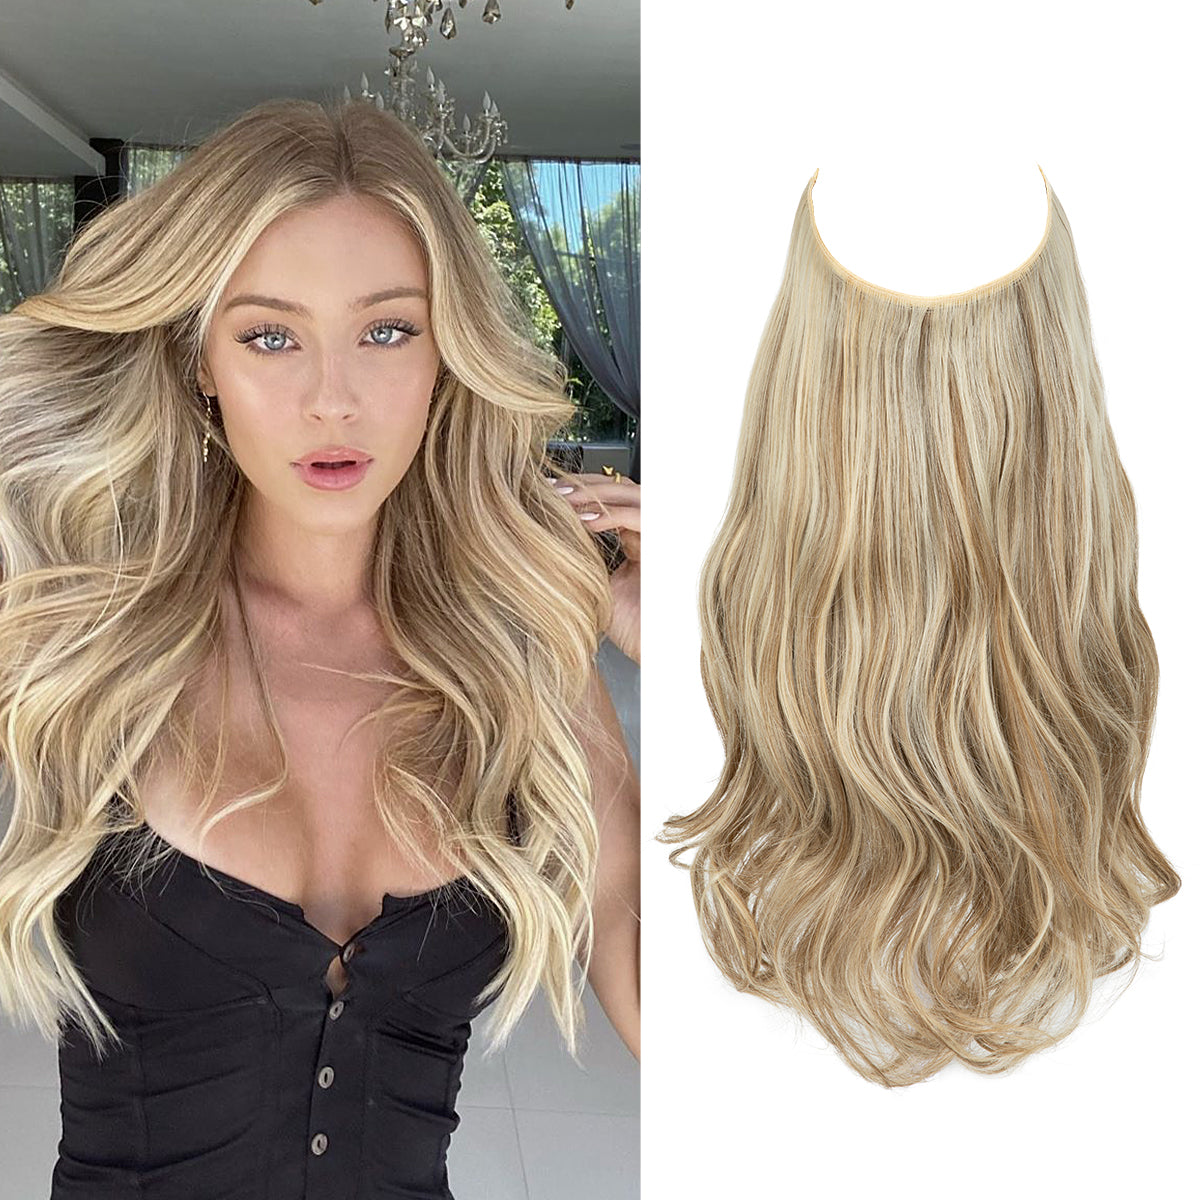
If you’re concerned about the upkeep or potential damage of tape-ins, consider Thathair’s Halo Hair Extensions as an easy alternative. A halo extension is a single weft of hair on a transparent wire that you can put on or remove at home in seconds. It gives you instant length and volume with zero damage – no tape, no glue, and no need for a salon visit. You can wear it whenever you want a boost and slip it off whenever you’re done, making it super convenient.
In the end, whether you choose tape-ins or a halo, pick what fits your lifestyle best. With the knowledge you've gained, you're well on your way to amazing hair days!