How to Remove Clip-In Hair Extensions

The proper removal of clip-in hair extensions is as important as the installation process.
The guide provides essential information about preventing hair breakage and loss during removal and maintaining excellent condition for both your extensions and natural hair.
Quality of Materials
Materials/Tools Needed
Gather a few things before you start removing your clip-ins—it'll make everything easier. Here's what you need:
- Wide-tooth comb or detangling brush – Gets out any knots before you remove the clips
- Hair ties or clips – For sectioning your hair so you can work through it systematically
- Mirror – Find a spot with good lighting so you can actually see what you're doing
- Storage bag or box – Somewhere to keep your extensions safe when they're not in use
- Optional: Leave-in conditioner or detangling spray –Helps you work through tangles without yanking
Do clip-in hair extensions come out easily?
The whole thing takes about 5–10 minutes. Having everything ready protects both your natural hair and your extensions, so they'll last longer and look better. It's worth the extra minute of prep. Knowing how to properly remove your clip-ins keeps both your hair and extensions in good shape.
How to take out clip-in hair extensions at home?
How to Take Care of Clip-in Extensions
1. Detangle Your Hair First
1. Detangle Your Hair First
You need to untangle your hair before proceeding because it contains knots and remains of products like hairspray or gel.
Use a wide-tooth comb or your fingers. Add a small amount of water or detangling spray to your hair to help break down accumulated substances.
2. Section Your Hair
Begin the process at the hair's lower section. You need to use clips or ties to divide your hair into sections. Divide your hair at the top edge of the extension clips for clear visual access. You can enhance your control by dividing the hair below the clips as well.
3. Start from the Bottom Layers
Hold your hair against your head using one hand near the roots. Your opposite hand should open the clips carefully before extracting each extension piece. Do not pull or speed up the process—tackle one clip at a time. Begin the process at the back of your neck, then move your way upward.
4. Check and Detangle Extensions
Examine your extensions for tangles after you remove them. You should gently comb them while applying leave-in conditioner when necessary.
5. Dry and Store Your Extensions
If they are damp, let your extensions dry naturally or dry them using a low heat dryer. Store them in their original box or a clean, dry container away from sunlight.
Quick Tip: If a clip is loose or broken, don’t panic—it’s as easy to fix as sewing on a button. Most brands usually have spare clips included in the set. You can find easy repair guides online.
By following these simple steps, you’ll protect your natural hair and keep your extensions looking great, wear after wear.
Pro Tips
The correct removal method of clip-in hair extensions maintains both your natural hair quality and your extensions in their optimal state. The following professional advice will enhance the process of removal and protect your hair:
- Always remove extensions before sleeping. The practice of sleeping with extensions in your hair results in tangled locks and matting, and potential breakage.
- Give your hair and scalp a break. The maximum recommended usage time for clip-ins should be 6–8 hours because this duration allows your scalp to rest.
- Remove the extensions before washing your hair. The process of removing extensions from wet hair increases the risk of hair breakage because wet hair becomes more delicate.
- Avoid teasing your roots often. When you need to tease your hair for better hold, use a gentle touch and remove the extensions with care after finishing.
- The hair loses its volume and shape regardless of your styling efforts.
The essential approach involves moving at a slow pace while being delicate with your hair treatment.

Common Mistakes and How to Avoid Them
The small steps you take after each removal session benefit both your hair and extensions by extending their lifespan while maintaining their optimal condition
- Clips won’t open: Sometimes, clips get stuck. Don’t force them. You should spray detangling spray on the area before waiting two minutes, then attempt to open the clips with gentle pressure.
- Extensions feel stuck: If they tug at your hair, stop and check for tangles. Before unclipping, you should gently detangle the area to prevent natural hair extraction.
- Natural hair comes out with extensions: This usually happens if the hair was matted or the clips were removed too quickly. You should always detangle your hair before unclipping while supporting your roots with your hand.
- Can’t find all the clips: Make sure you’re in a well-lit room with a mirror. You should use your fingers to explore your scalp while dividing your hair into distinct sections.
- Hair is matted after removal: If your hair feels knotted afterward, don’t panic. Apply water or conditioner to the hair before using a comb to gently work from the bottom up.
The essential approach involves moving at a slow pace while being delicate with your hair treatment.
Hair Care After Removing Clip-In Extensions
After removing your clip-in extensions, you should provide care to both your natural hair and scalp. The weight and tension from extensions require proper aftercare to maintain hair strength and health.
- Begin by brushing your natural hair with care with a wide-tooth comb to eliminate any remaining tangles.
- Apply a leave-in conditioner to maintain hair softness and hydration.
- Apply a lightweight hair oil to your scalp when it feels tight or dry because this will help boost circulation.
- Avoid applying heat right away. Your hair needs rest before you can style it again. Before using heat styling tools, you should apply a heat protectant to your hair.
- The hair loses its volume and shape regardless of your styling efforts.
The small steps you take after each removal session benefit both your hair and extensions by extending their lifespan while maintaining their optimal condition
Final Thoughts
Looking after your clip-ins is about more than just keeping them nice—it's making sure you get the most out of what you paid for and feeling confident when you wear them. But nothing lasts forever. Once they start shedding too much, tangling constantly, or the clips stop gripping properly, it's time to replace them.
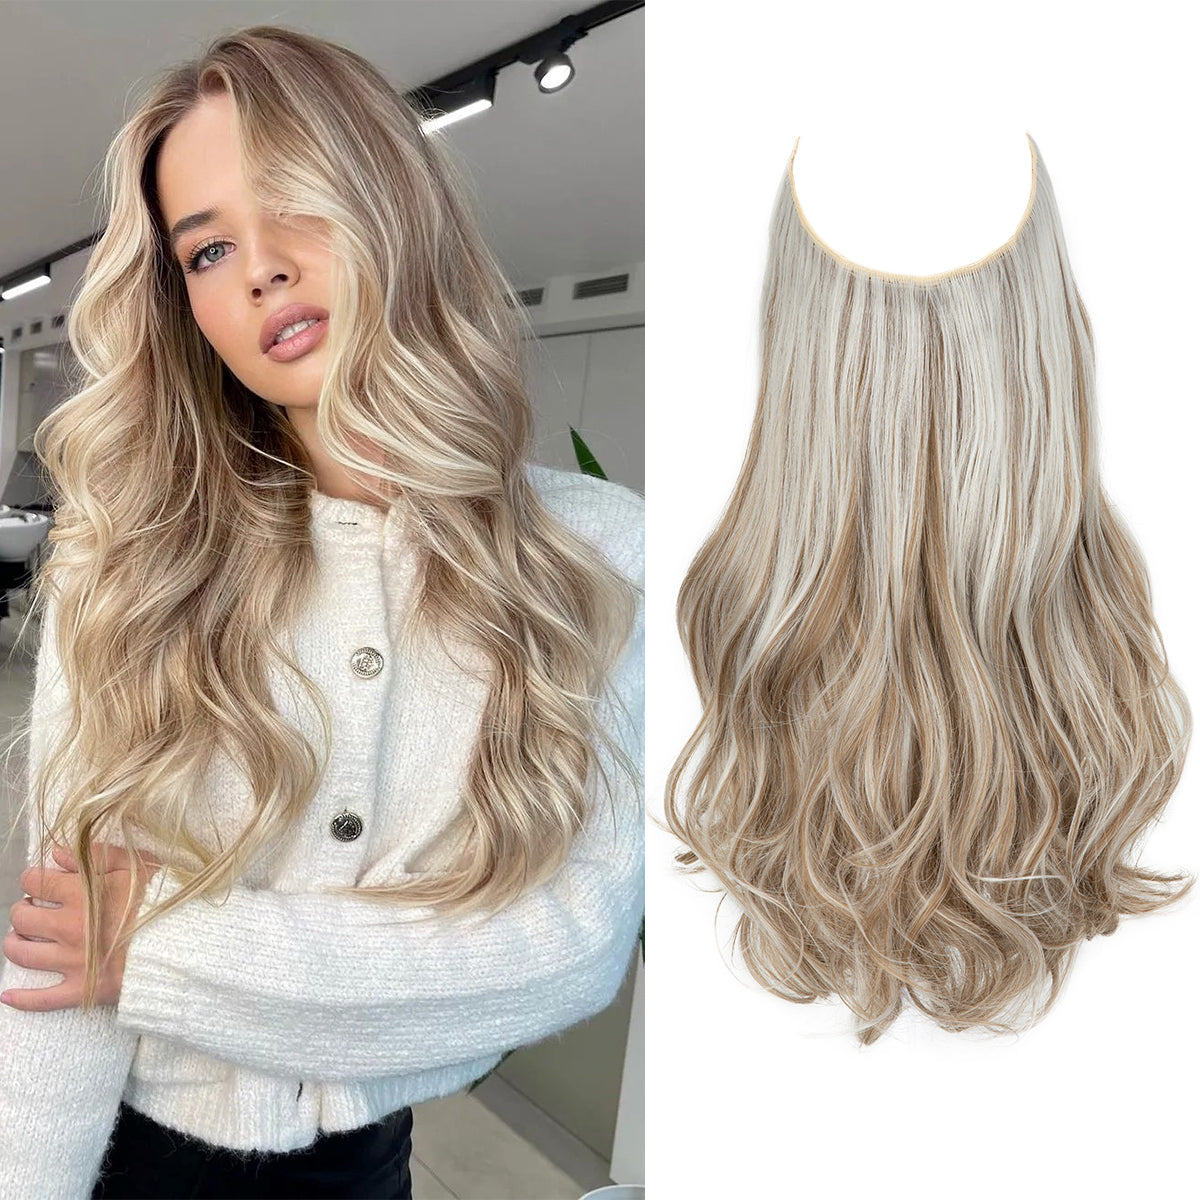
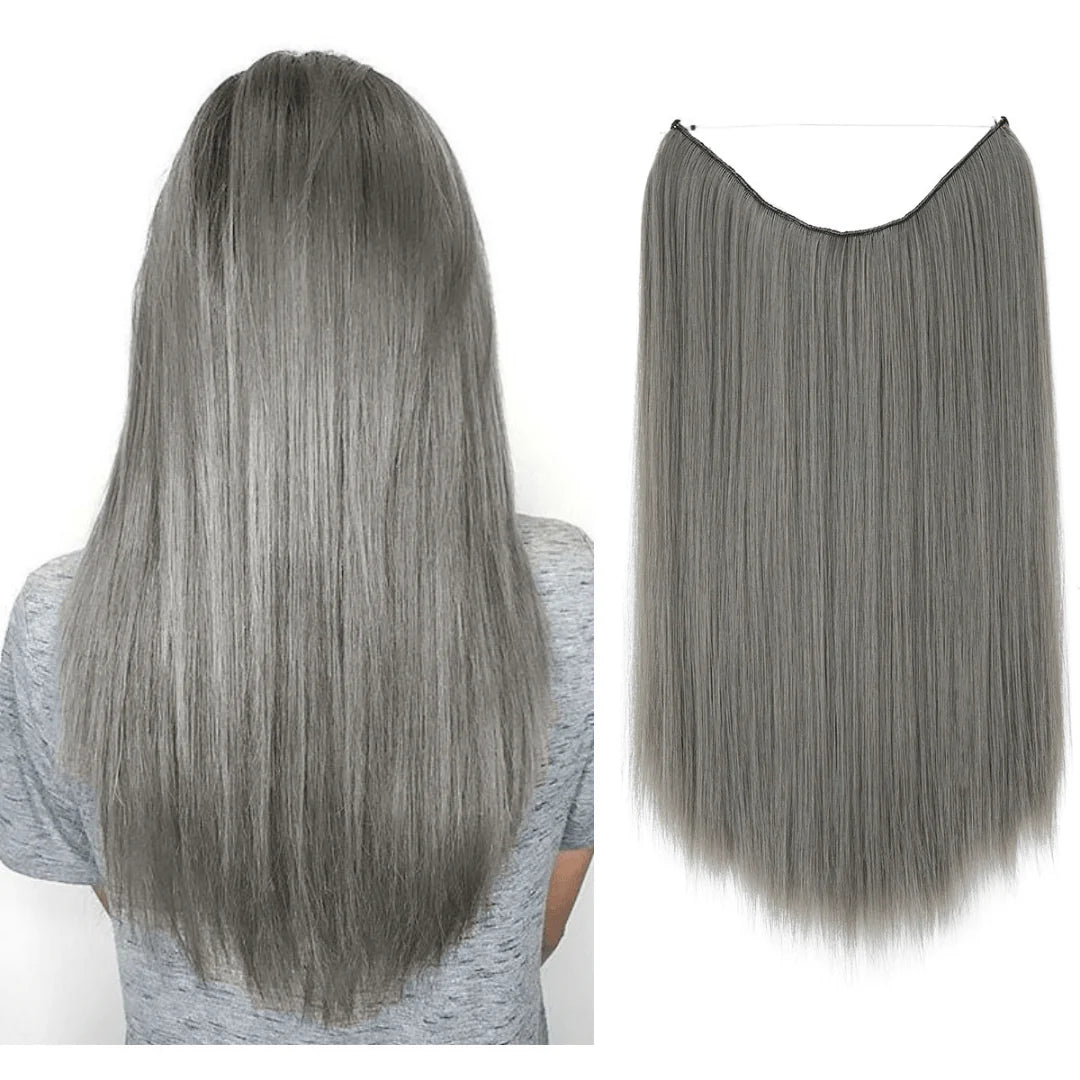
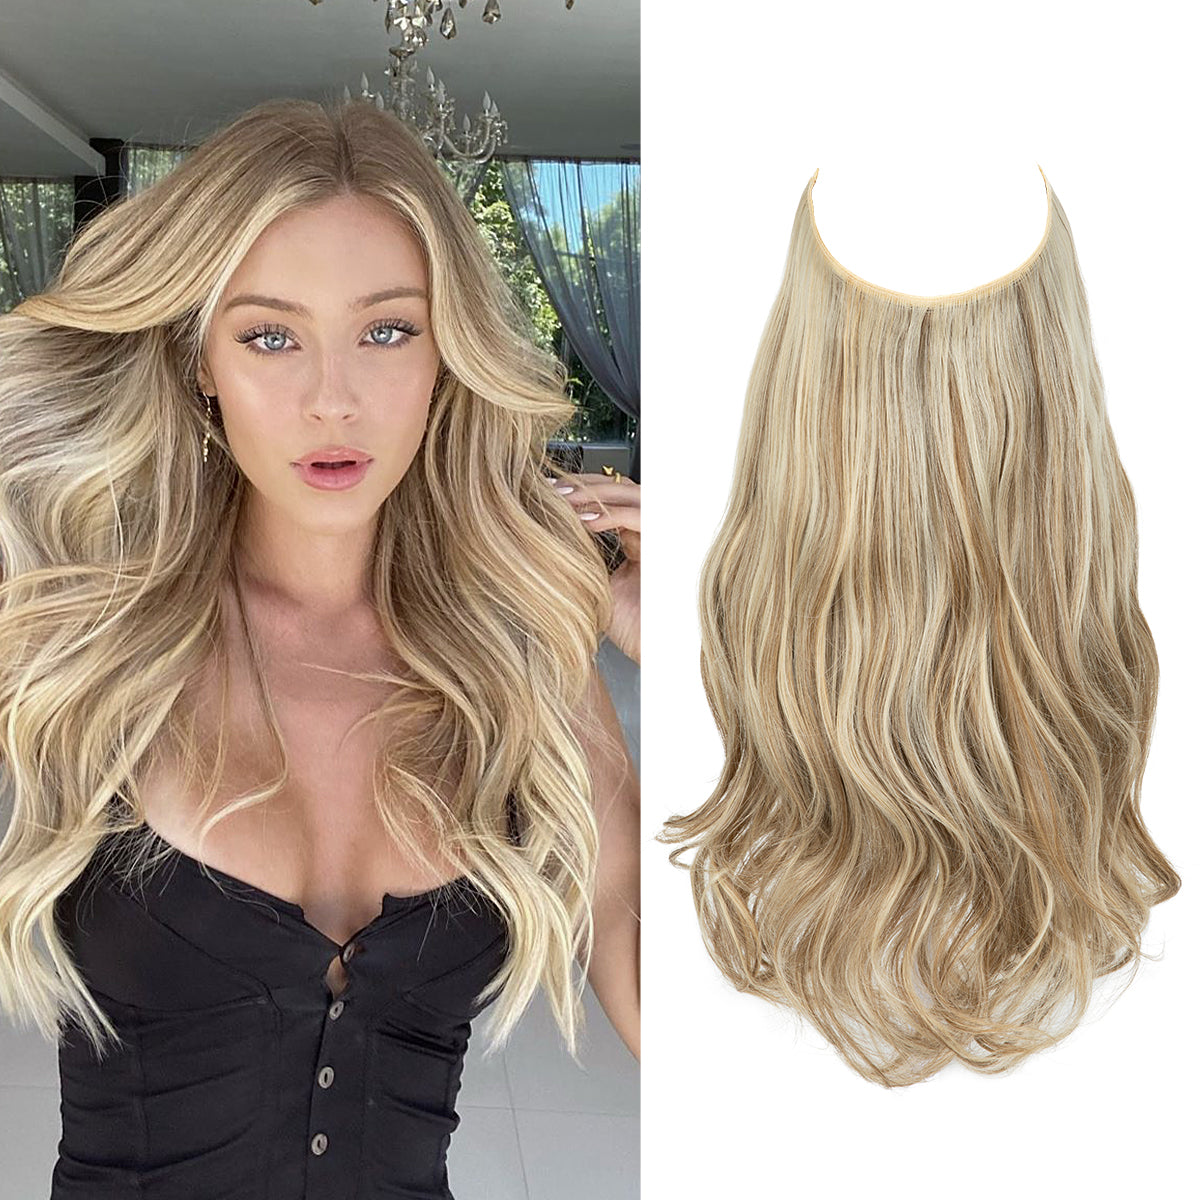
At Thathair, we offer Halo Hair Extensions that are not only easier to take care of but also quicker to wear, maintain, and store, without any damage to your natural hair. You simply slip them on, blend, and go.