How To Blend Clip-In Hair Extensions

The process of attaching clip-in hair extensions becomes difficult when you have short or blunt-cut hair. You have probably attempted an extension application before, but achieved unsatisfactory results with noticeable seams and unappealing layers.
This guide provides step-by-step instructions to achieve natural-looking extensions regardless of your hair type or haircut style. We demonstrate hairstyle options that effectively hide the edges of clip-in extensions, and anyone seeking improved techniques for blending their hair extensions. Let’s dive into it.
Quality of Materials
Why Won't My Clip-in Extensions Blend?
Many people experience the problem of clip-in extensions appearing unnatural or mismatched. Most cases of visible extensions stem from improper matching or incorrect placement. The following section will show you how to fix these problems.
Here are a few things that might be going wrong:
- Extensions that differ from your natural hair color by even a small amount will create noticeable contrast. You should match colors under natural lighting or ask someone else to verify your selection.
- Extensions that exceed the length or volume of your natural hair will appear unnatural and artificial.
- Extensions made from straight hair will not blend properly with wavy or curly hair, and extensions made from curly hair will not match straight hair.
- The clips become visible when they are placed incorrectly or too close to the surface of the hair.
- Heavy Blunt Cuts can create a harsh contrast unless the ends are softened or layered.
The following section will demonstrate the exact methods to resolve these problems and achieve professional blending results.
How to Blend Clip in Hair Extensions: Complete Step-by-Step Method
1. Prepare Your Natural Hair
Begin the process with dry hair that has been washed. Extensions sit better and lie flat on your hair when it is not freshly washed—second-day hair provides the best results.
Gently brush out any tangles and lightly straighten or curl your hair only if you need to achieve the same texture as the extensions
2. Section Your Hair Properly
The first section should be placed above your neck nape line. Clip the rest of your hair up and start with a small weft and work your way up. Leave enough hair at the crown to cover the top clips
3. Install Extensions Strategically
Begin with the middle clip of a weft before moving on to secure the sides. Place extensions in areas with less movement to keep them hidden and most importantly avoid placing clips too close to your hairline
Textures:
- Follow the dye instructions exactly
- The amount of dye should match the current weft Aim for a smooth, creamy texture
4. Braid or Pin Short Hairs Underneath
To avoid short ends peeking through, braid or pin the lower layer. This gives you a cleaner, smoother blend and keeps the clips secure and out of sight
- Apply from the root of the weft to the ends
- Use plenty of dye to fully saturate
- Avoid getting product on clips or seams
- Work in one direction for smooth results
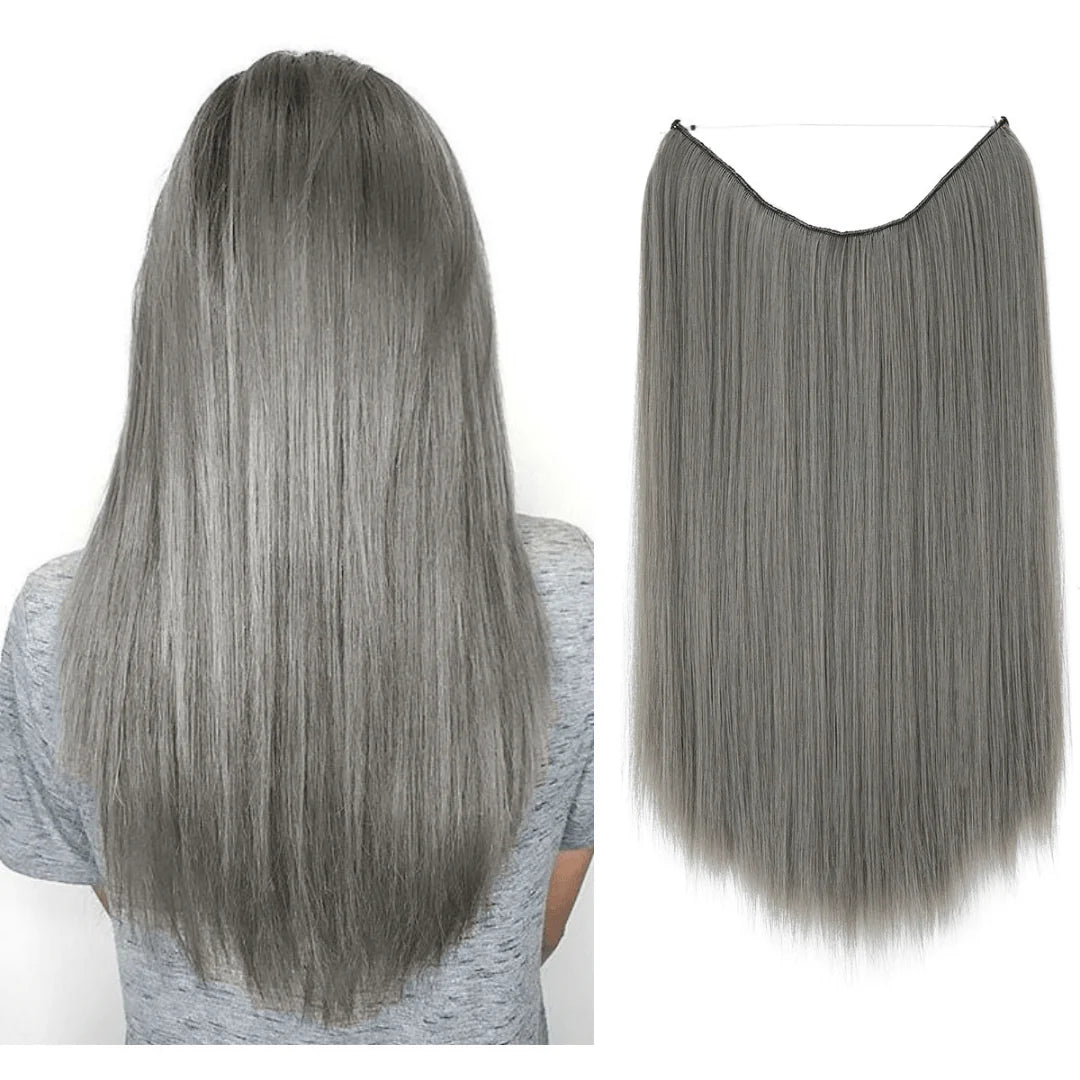
- Grey Hair Extensions
5. Blend the Hairline and Create Seamless Transitions
Tease the roots where needed for volume and to hide the base of the wefts. Trim extensions if they’re too long for your haircut. Light layering can help the extensions flow more naturally
6. Match Textures
You should style your hair together with your extensions to blend them perfectly. Use a straightener or curling iron to ensure both textures match each other. Don’t forget to apply heat protectant first.
7. Final Styling and Finishing Touches
Brush your hair gently to combine your natural hair with your extensions. Apply a light serum or shine spray for polish and set the style with flexible hold hairspray
The proper sequence of these steps will surprise you by making your clip-ins blend seamlessly even with difficult cuts or brief hairstyles.

Blending Techniques for Different Hair Types
The method for blending clip-in hair extensions depends on the nature of your hair. We have organized the process into simple steps which matches your specific hair texture along with your haircut and thickness to ensure optimal results.
How to Blend Clip-in Extensions with Fine/Thin Hair
The clips become visible when applying extensions to fine or thin hair.
- Keep clips within your "safe zone" that extends down to the hair line to maintain concealment
- The use of lightweight or seamless wefts helps prevent excessive bulk from forming
- Tease your roots or use volumizing spray to create better extension grip at the hair base
- Small wefts should be stacked instead of heavy wefts to prevent visible lines
How to Blend Clip-in Extensions with Thick / Coarse Hair
The main difficulty when using extensions with thick hair consists of keeping them integrated with the volume of your natural hair.
- The choice of thick or ultra-volume clip-ins should correspond to your hair density for optimal results
- The clips need to be fastened firmly to stop movement throughout an entire day
- The hair and extension layers need to be layered to achieve texture blending
- The extensions need to extend across your entire hair width
How to Blend Clip-in Extensions with Curly / Wavy Hair
The success of blending curly or wavy hair extensions depends on proper pattern matching.
- Select hair extensions that duplicate the natural texture of your hair
- You should twist or braid your actual hair along with the extensions when styling
- The process of curling both sections together will create a seamless blend
- When you decide to avoid heat styling let your hair dry with the extensions in a natural way

How to Blend Clip-in Extensions with Short Hair (Bob/Lob)
Short haircuts tend to reveal the blending line because of their short length.
- You should either pin or braid your bottom hair layer to conceal the straight line of your hair
- The use of multiple wefts allows you to create a smooth transition of volume
- Get your extensions trimmed or layered to match your haircut
- Curling your hair along with your extensions creates a length-disguising effect
How to Blend Hair Extensions that Don't Match in Color?
The immediate visibility of extensions occurs when they do not match the color of your hair.
- Check your shade under natural light or seek assistance from a professional for guidance
- To blend tones you should curl and mix your hair strands with the extensions
- You can use toners or lowlights to modify the shades when necessary
- Halo options are limited and vary by stock
5. Dye on Clips or Seams
Every hair type can achieve a flawless natural look through proper technique.
Final Thoughts
The process of blending clip-in hair extensions becomes straightforward when you know your hair type and use proper tools while following a step-by-step procedure. The correct blending method transforms the appearance of all hair types including fine and thick hair as well as short and curly hair.
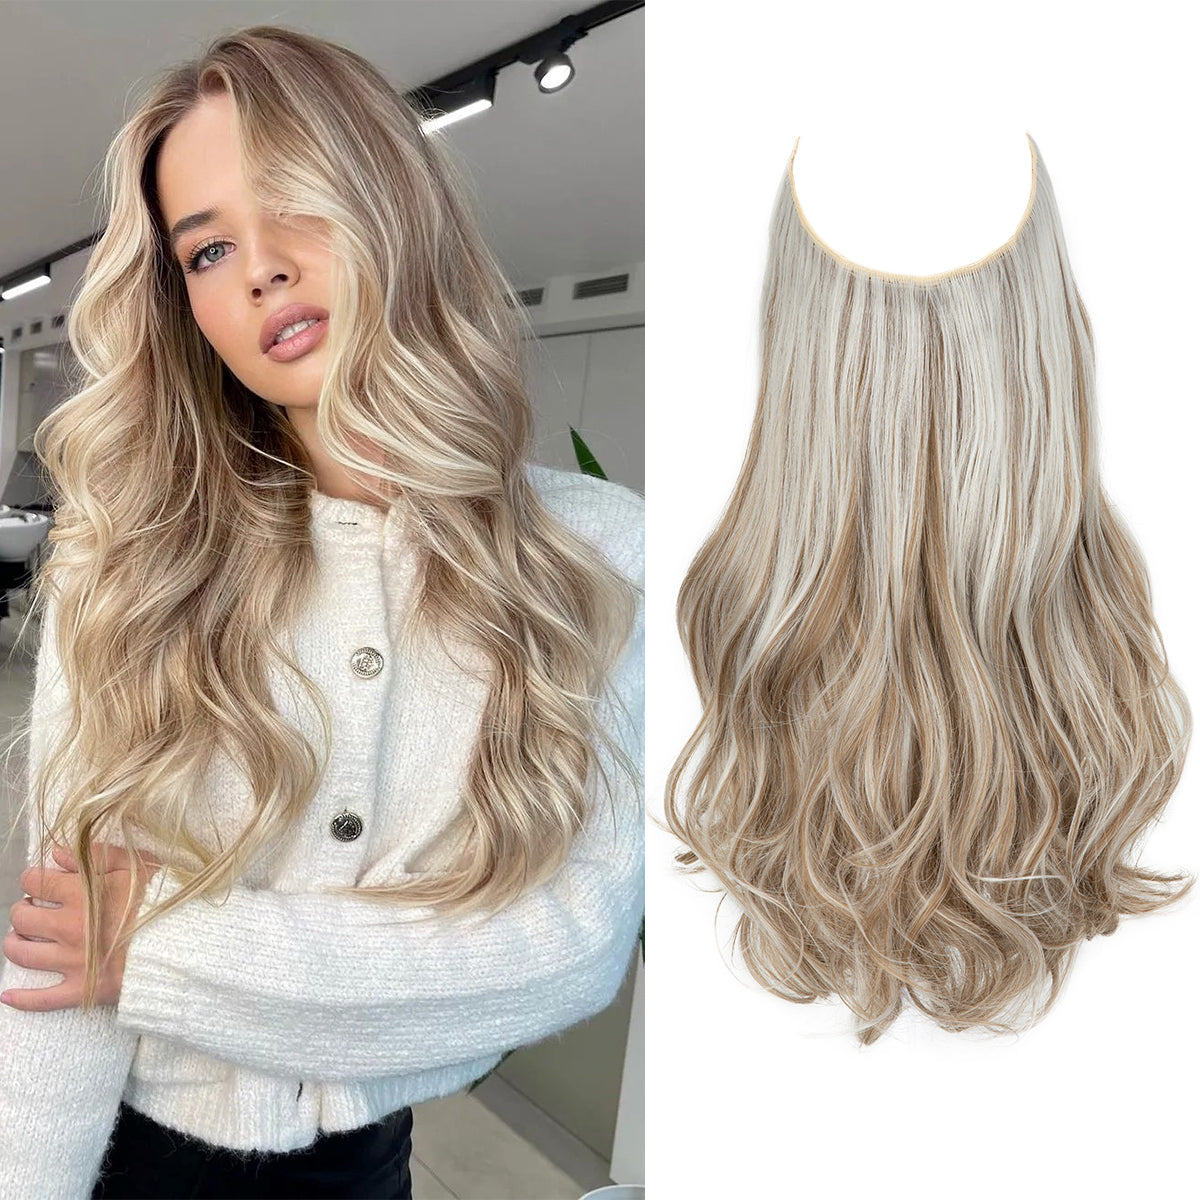
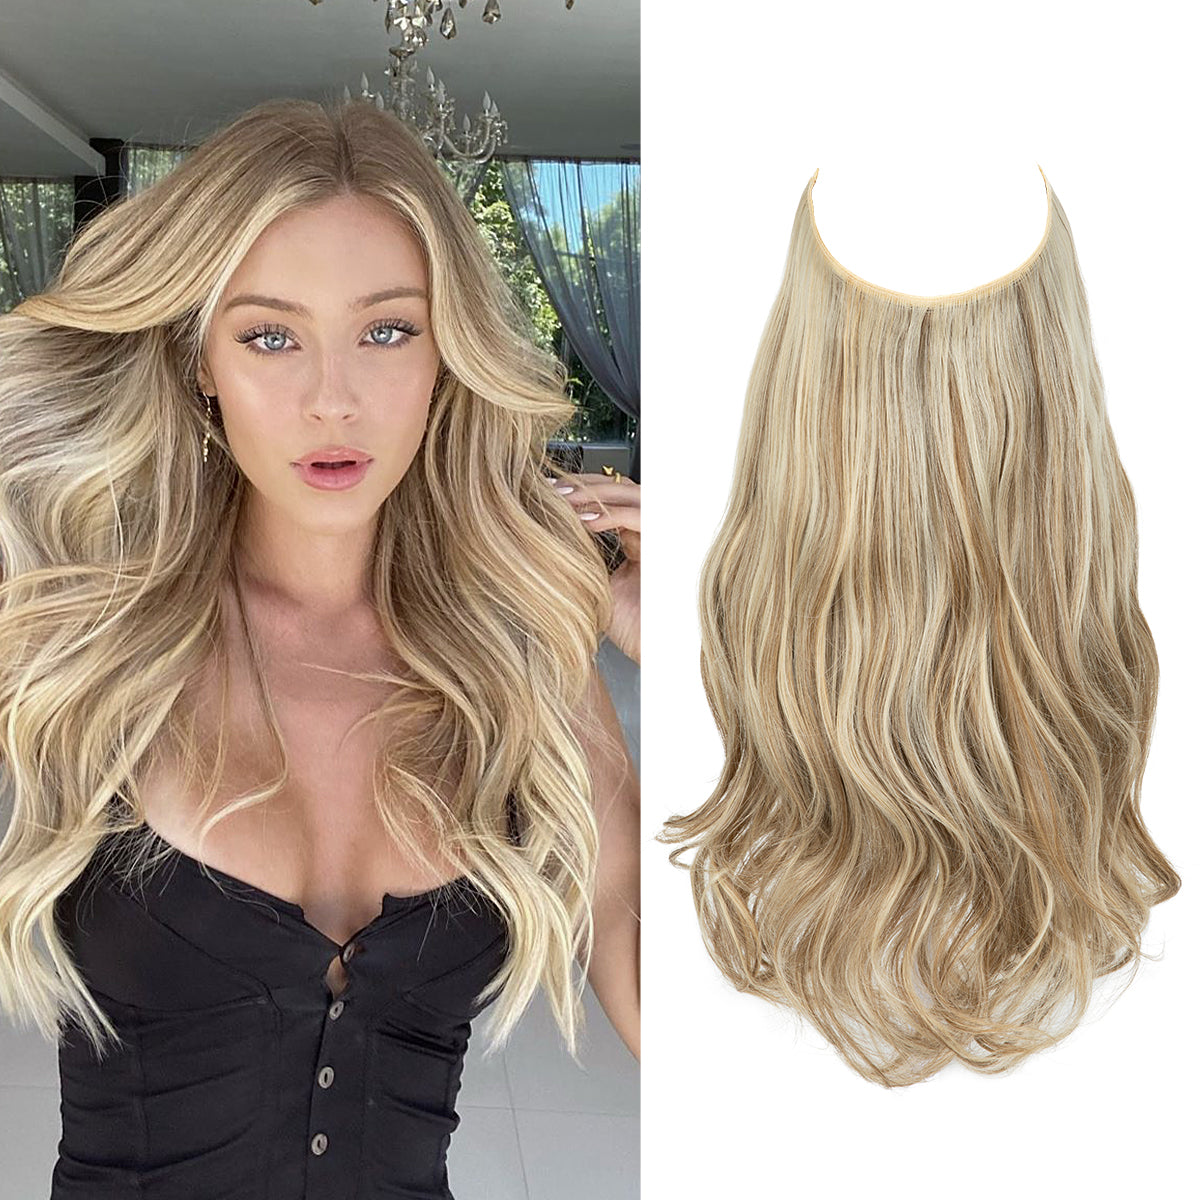
Our Halo Hair Extensions offer an effortless and quick and damage-free solution for those seeking an alternative.
The design of Halo extensions features a single invisible wire which allows them to rest on your head without needing multiple wefts or clips.
The application process delivers instant beautiful volume and length without any damage to your hair.