How to Put In Clip-In Extensions

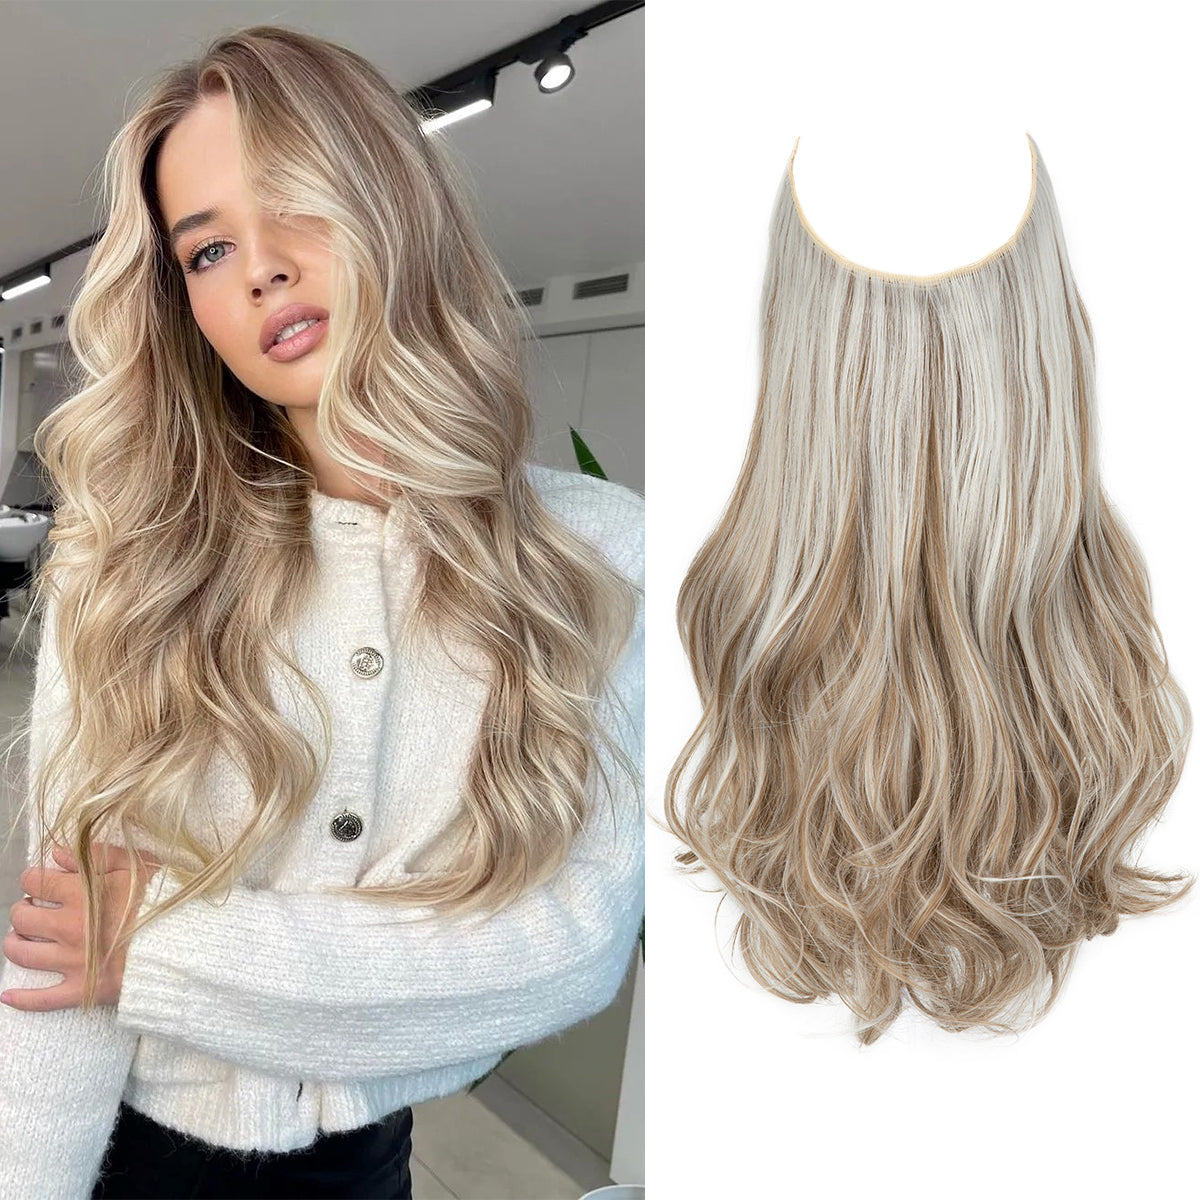
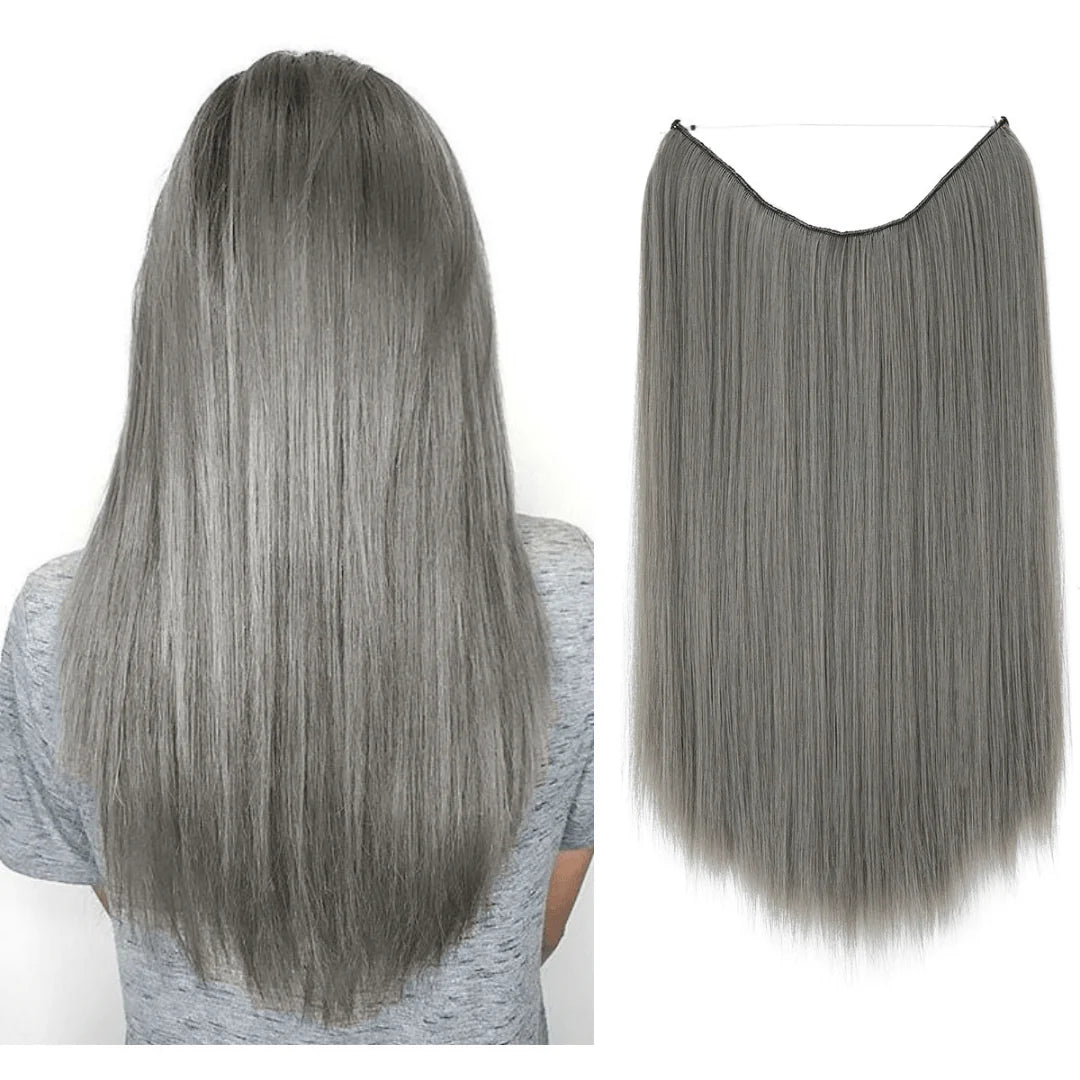
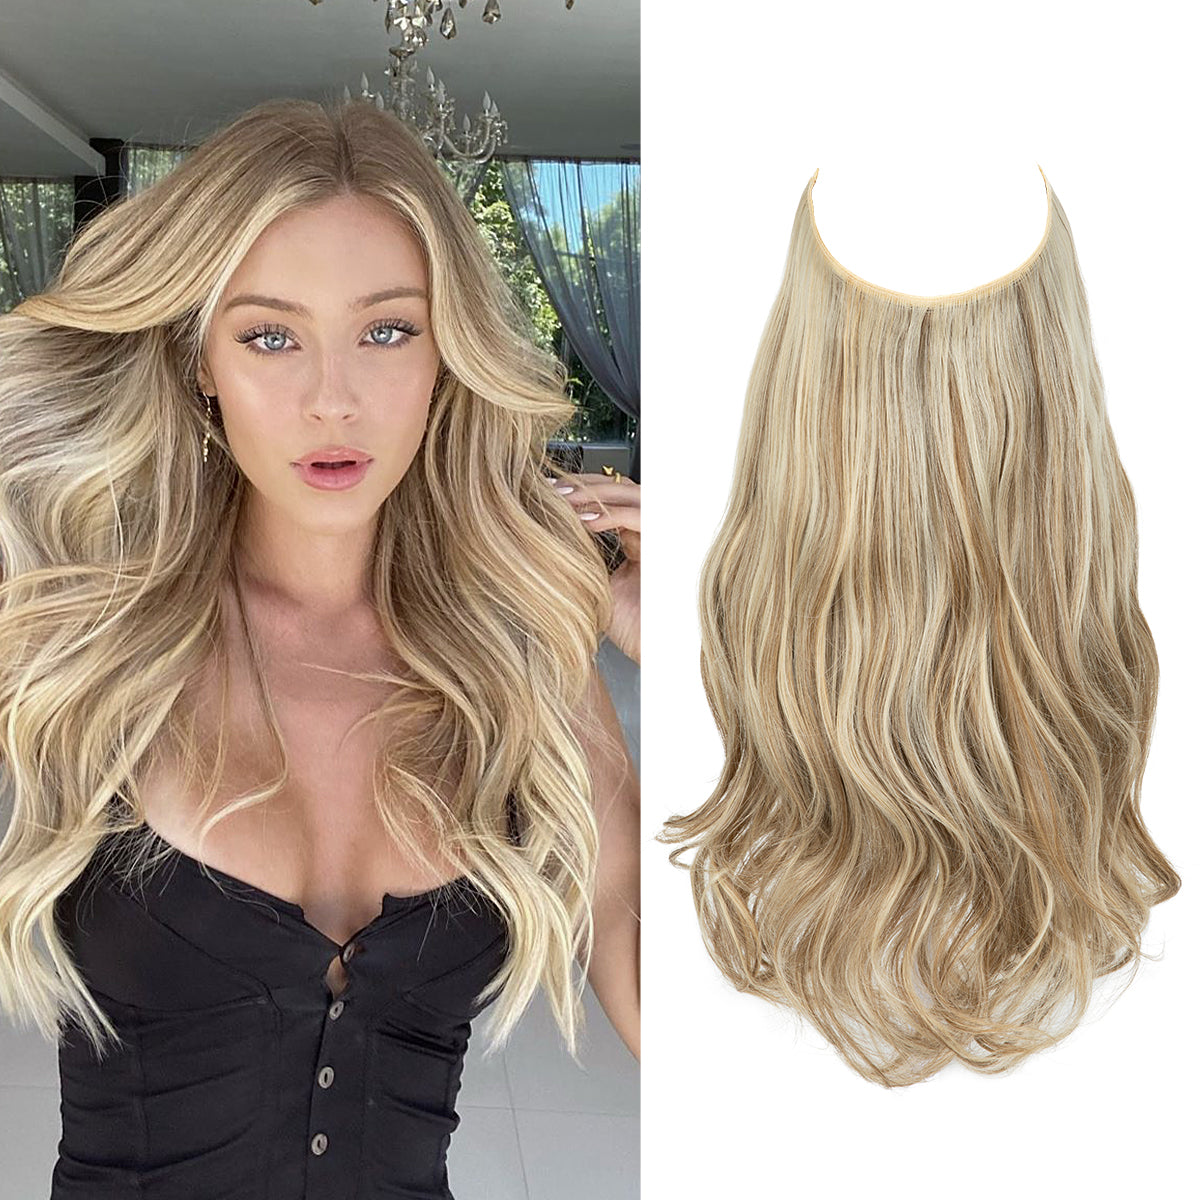
Halo hair extensions provide the perfect solution for people who want more volume and length without complicated maintenance. These extensions are simple to wear, and they transform your appearance instantly.
A perfect blend of extensions transforms your appearance from "she's wearing extensions" to "her hair looks amazing." This guide provides step-by-step instructions to achieve a perfect finish that requires no prior experience and takes minimal time.
What are Clip-In Extensions?
Clip-in extensions provide the perfect solution for those who want extended hair length without making a permanent change. These hair pieces come with clips attached to small wefts, which you can easily snap into your natural hair. The process requires no glue, no heat, and no extended salon visits.
This guide helps beginners and anyone wanting a quick hair transformation. Let’s begin by preparing all necessary items.
Tools You’ll Need to Put in Extensions
First, you need to prepare all necessary tools. See the following checklist:
- Clip-in hair extensions: Select a color that matches your hair or the desired appearance.
- A tail comb: Serves to divide your hair into straight sections for clean work.
- Hair clips or bobby pins: The application process requires these to secure your hair sections away from your work area.
- A teasing brush or fine-tooth comb: Serves as an excellent tool for backcombing, which helps maintain clip position.
- Hairspray or texturizing spray: An optional tool that’s helpful for silky or fine hair.
- A flat iron or curling iron: Helps merge your natural hair with extensions for a perfect finish.

Preparation Steps for Putting Clip-in Hair Exten
Your hair and tools need proper preparation before clip-in application to achieve the best results. Follow these steps to achieve a natural, smooth appearance:
1. Wash and Dry Your Hair
Start with clean, dry hair. The application of clip-ins requires dry hair because wet hair will lead to slipping and damage. You should avoid using heavy oils together with leave-in products before starting the application process.
2. Detangle Thoroughly
The process of sectioning and clipping becomes significantly simpler when hair is smooth.
3. Add Texture if Needed
Fine and silky hair benefits from a small amount of texturizing spray or dry shampoo applied to the roots. The clips will maintain a better grip and stability because of this technique.
5. Lay Out and Check Your Wefts
Arrange your extensions by size order from the widest to the narrowest. Check each clip by opening and closing it to verify its proper functioning.
6. Plan Your Clip-In Placement
Consider which parts of your hair require additional volume or length. Thicker sections require larger wefts, but smaller wefts work best for the sides to achieve symmetry.
- Hair Quality: The best-lasting extensions are made from virgin or Remy human hair. These types are real, untreated, and naturally soft. Remy hair stays smooth and resists tangling longer because the strands are aligned in the same direction. Non-Remy and synthetic extensions break down quicker and need replacing sooner.
- How Often You Wear Them: Wearing your extensions every day causes them to wear out faster. If you only wear them on special days, they’ll stay in great shape for much longer.
- Styling Habits: Using heat tools too often—like straighteners or curling irons—can dry out the hair and cause breakage. Try to reduce heat styling or use a heat protectant spray when needed.
- Washing Routine: Be gentle when washing your extensions. Always use a sulfate-free or special halo extension shampoo and follow up with conditioner. Avoid rubbing or twisting—just rinse gently and let them air dry.
- Proper Storage: Always store your halo extensions flat or in a hair-safe bag. This helps prevent tangles and keeps the hair smooth between uses.
- Environmental Exposure: Sun, pool water, and humidity can dry out or damage your extensions. On hot or humid days—or when swimming—use a hat or scarf to protect them
How to Use Clip-In Hair Extensions
Step 1: Section Your Hair

The following simple instructions will help you achieve a fuller and longer style within a short time.
Begin your process by drawing a horizontal line that extends from the back of your neck up to 1–2 inches in length. A tail comb serves to establish a straight line.
Move all hair above the designated section to the side using clips or pins.
Gently backcomb (tease) the roots of fine or silky hair because this action improves clip grip.
Step 2: Apply Larger Wefts in the Back.

Source: https://www.wikihow.com/Use-Clip-in-Hair-Extensions
Select the widest weft from your extension set, which normally consists of 3 or 4 clips.
Open all clips before placing.
Place the weft so the middle portion runs through your part.
Begin by snapping the center clip down first before moving to the outer clips.
The weft should fit flat against your scalp without any discomfort. It should feel secure, not tight.
Step 3: Continue Layering Extensions

Source: https://www.wikihow.com/Use-Clip-in-Hair-Extensions
You should follow the same process of dividing the hair and clipping it while moving from the bottom to the top of your head.
When you get closer to the top and sides of your head, you should switch to medium wefts that have two clips and small wefts with one clip each.
The ear area requires smaller wefts that follow a gentle diagonal direction to ensure both comfort and natural blending.
Maintain sufficient natural hair on your crown to provide complete weft coverage.
Step 4: Apply the Smallest Wefts at the Sides of Your Head.

Source: https://www.wikihow.com/Use-Clip-in-Hair-Extensions
Look at yourself in the mirror (carry the handheld mirror for your back view).
Your extensions need to appear symmetrical and authentic from every viewpoint.
The addition of 1-clip wefts will provide additional volume in your preferred areas.
You should verify that no clips or tracks appear through your hair on top.
That’s it! You will master the application of your clip-in extensions within 15 minutes once you gain some practice.
Styling and Finishing
After installing your clip-ins, you should now blend all elements to achieve the final look.
Begin by releasing all your hair from the clips and brushing your hair gently from the mid-lengths to the ends. Your natural hair and extensions will blend perfectly when you brush them together. You should use your fingers to distribute hair gently across any sections that appear thick or unbalanced.
After that, use a flat iron or curling iron to style your hair and extensions as one piece. Keep the heat under 350°F and avoid pressing too close to the clips. The combination of styling both sections produces a continuous appearance that extends from the roots to the ends.
A light mist of hairspray will help maintain your hairstyle while securing everything in its position. A light mist of hairspray serves to enhance grip and blend, especially when your hair is fine.
Check your hair from all directions by using two mirrors which including one in front of you and one handheld mirror. You should either readjust the position of wefts or use your fingers to conceal them with your hair.
Short-haired individuals should consult a stylist to cut gentle layers in their extensions because this creates a natural appearance.
Before heading out, make sure:
- All clips feel snug but comfortable
- There’s no visible track or bump
- The final result looks full, even, and natural
Common Issues and How to Fix Them
The installation of clip-in extensions does not guarantee perfect performance because they can sometimes malfunction. Most problems with extensions are simple to resolve:
Problem: Extensions slipping out
Solution: A bit of dry shampoo or texture spray, along with gentle hair teasing, will solve the problem.
Problem: The clips become visible, and wefts show through
Solution: The placement of clips appears to be either too close to the part line or positioned too high. Try the clips again by starting from a lower position and leaving more hair on top to conceal them.
Problem: Uncomfortable pulling or pain
Solution: Adjust your clip placement by moving it downward or loosening your grip.
Problem: Hair not blending well
Solution: Use a flat iron or curling iron to style both your hair and the extensions as one piece. If necessary, consult a stylist to create gentle layers throughout your extension pieces.
Problem: Tangles at the meeting point?
Solution: Regular brushing throughout the day, combined with end-of-day leave-in conditioner application, will help prevent tangles.
Caring for Your Clip-In Hair Extensions
The care of clip-in extensions requires both proper handling techniques and specific habits to maintain their freshness and extend their lifespan. The following steps will help you care for your extensions with professional results:
- Take off your clip-ins both before sleeping and before showering. The practice of sleeping or bathing with clip-ins leads to tangled hair and breakage.
- Brush after each wear. Start brushing with a soft-bristle brush at the ends of your hair, then brush slowly toward the roots to prevent pulling.
- Wash only when needed. Clean your extensions after 15–20 uses or when you detect product accumulation. Use sulfate-free shampoo.
- Never apply conditioner near the clips. You should condition only the mid-lengths and ends of your hair because conditioning near the clips will cause them to slip.
- Store them properly. Store your extensions in their original packaging or a specific extension box or hanger to stop tangling.
- Avoid water and sweat. Swimming together with intense workouts leads to clip loosening and matting formation.
- Limit heat styling. Always protect your hair with heat sprays before styling and maintain temperatures below 350°F.
The easy steps will maintain your extensions in a soft and smooth state while keeping them secure for perfect wear each time. You should treat your extensions similarly to your natural hair, but with additional attention.
Final Thoughts
The application of clip-in extensions needs careful handling to prevent discomfort or damage to your hair.
A safer and easier alternative to Clip-in Extensions is Halo
The invisible wire functions as a headband that you can use to merge with your natural hair. That’s it. The system provides everyday confidence through its simple design and safe operation.