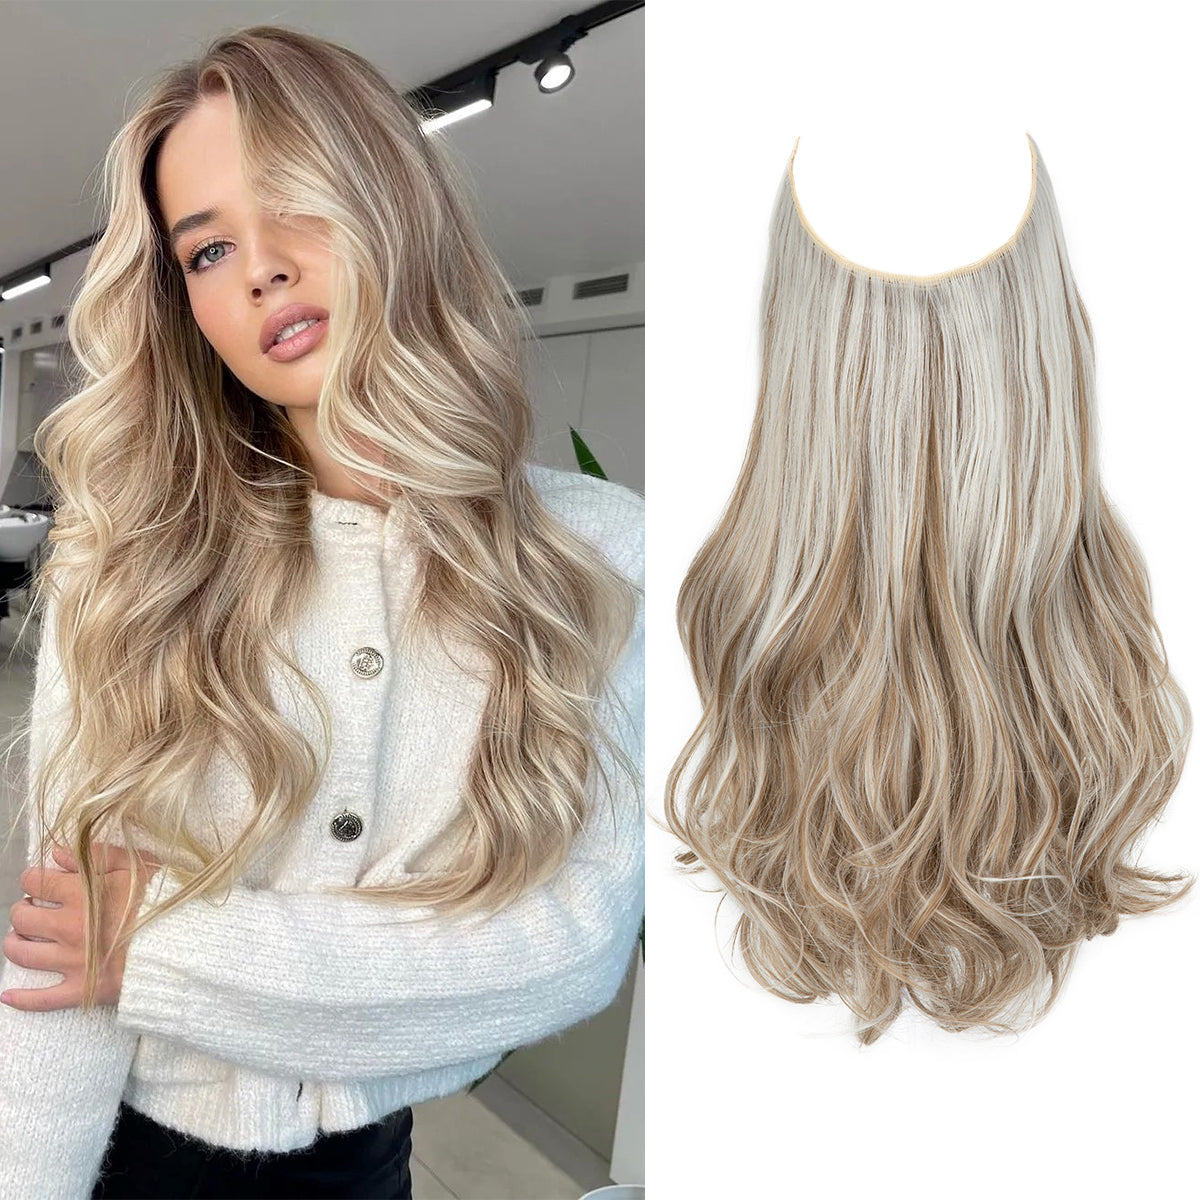
Halo hair extensions provide the perfect solution for people who want more volume and length without complicated maintenance. These extensions are incredibly easy to use and give you that instant hair transformation we all dream of.
When you get the blend just right, nobody will be thinking "oh, she's wearing extensions", instead, they'll be wondering how your hair looks so amazing. We'll walk you through everything step-by-step, and honestly, you don't need any experience to nail this. It only takes a few minutes once you get the hang of it.
How to Wear Halo Hair Extensions
@thathair.co The Easiest Way Ever Invented to Fuller Hair—Buy 1 Get 1 FREE + 55% OFF
♬ original sound - thathair
Getting amazing results with halo extensions is way easier than you'd think. I don't care if you've never touched an extension in your life or you're already a pro, these steps will have you looking like you just walked out of a salon.
Step #1: Prep Your Natural Hair
Start with dry, clean hair. Brush it thoroughly to remove any tangles, use a paddle brush or wide-tooth comb.
Pro Tip: If you’re planning to style your hair after, spritz on a heat protectant first to keep your strands safe.
Step #2: Brush Your Halo Extension
Before applying, gently brush your halo extension using a loop brush or wide-tooth comb. Smooth strokes help keep the hair soft and tangle-free.
Step #3: Section Your Hair
Part your hair horizontally, creating a top section that mimics a halo shape. Tie this section into a bun at the crown of your head, and leave out the front pieces to frame your face naturally.
Step #4: Adjust the Halo Wire
Hold it like a headband with the wire facing down and hair facing up. Bend the wire to fit your head shape - it should sit above your ears and feel comfortable, not tight.
Step #5: Place the Halo Extension
Gently place the halo around your head. The wire should rest above your ears, while the hair lies flat against the back of your head. Your natural hair's weight will help keep it in place.
Step #6: Add Extra Clips (Optional)
For extra volume around your face, clip a two-clip weft about two inches above each ear. Start by securing the clip closest to your hairline.
Step #7: Let Your Hair Down & Blend
Release the bun and let your natural hair fall over the halo. Using a brush, gently blend your real hair with the extension, be especially gentle around the wire area to avoid pulling.
Step #8: Style as You Like
Now you're ready to style. Curl, wave, or straighten as you wish, just make sure to protect both your hair and the halo with a heat protectant spray beforehand.

| Halo | Clip-in | Glue/Tape-in | Sew-in Weaves | |
|---|---|---|---|---|
| Damage | No damage sits on an invisible wire | Low risk if worn occasionally, but frequent use can cause breakage | Adhesive may weaken hair over time, especially with removal | Tension from braids can cause hair breakage |
| Installation Time | Under 1 minute | 5-15 minutes | 30-60 minutes—requires professional application | 2-4 hours—salon required |
| Comfort Level | Lightweight, no headaches | Can feel bulky with multiple wefts | Tape can feel tight at first | Can feel heavy and tight, especially after installation |
| Styling Freedom | Can be curled, straightened & styled easily | Very flexible for styling | Heat should be kept away from adhesive areas | Styling is limited by track placement |
| Best for Beginners | Easiest option—no skills required | Easy once placement is learned | Requires professional application & removal | Requires professional salon work |
- Clip-in extensions connect to your hair through small clips. The regular process of clipping and unclipping extensions produces root tension that results in hair breakage and thinning and potentially leads to complete baldness.
- Tape-ins function by sticking directly to your hair using adhesive strips. The adhesive process leads to dryness in hair strands and weakening of hair structures when used multiple times.
- Microbeads require crimping sections of your hair using small metal rings. The tight pressure from these products damages hair cuticles which results in breakage of the hair fibers.
- Glue-ins and bonded extensions use chemical adhesives for attachment. The same dryness issues that tapes cause also affect these products by damaging them over time.
- Weaves are sewn into hair that has been tightly braided. The hair loss risk from scalp tension exists when using this method, and the process becomes painful because of the strain.
- Instant results: Get fuller, longer hair in seconds. No salon appointment needed.
- Easy to apply: The halo can be easily put on like a headband and then blended with your natural hair. That’s it.
- No damage: The halo doesn’t attach to your hair, so there’s no pulling, no glue, and no risk to your natural strands.
- Totally commitment-free: Wear it when you want, take it off when you don’t. No permanent changes.
- Saves time and money: You can avoid the costly and time-consuming reapplication appointments that are typical for traditional extensions.
- Perfect for most hair types: Especially great for fine, thinning, or fragile hair — or anyone who wants a low-maintenance option that still looks amazing.

Pro Tips on How to Make Your Halo Extensions Look Natural
Getting your halo extensions to blend perfectly with your real hair is easier than it looks. Here’s exactly how we make it work, simple, beginner-friendly, and expert-approved.
1. Pick the Right Shade
Match your halo extension to your natural hair in natural lighting. If you're unsure, go a shade lighter, it’s easier to darken extensions than lighten them. For best results, use a brand’s color-matching service to find your perfect match.
2. Choose the Right Thickness
Your halo should match the thickness of your own hair. If you have fine hair, choose a lighter extension. For thick hair, go with a fuller option. A mismatch in thickness is one of the main reasons extensions look unnatural, especially at the ends.
3. Add Layers (Yes, Even to Your Halo!)
Just like your natural hair, your halo extension needs layers. Ask your stylist to cut and shape the extension so it flows into your hair without sharp lines or gaps. This helps everything blend more smoothly.
4. Curl or Wave Your Hair
Straight styles can expose where your natural hair ends and the halo begins. Adding curls or waves helps your hair and the extension blend together naturally. Use your favorite curling tool, and always apply heat protectant to both your hair and the halo.
5. Hide the Wire
Once your halo is in place, gently brush your top layer of hair to cover the wire. If your hair is fine or thin, tease the roots or use a light volumizing spray to help hide the wire more effectively.
6. Taper Your Ends
Blunt, straight ends make blending harder. Ask your stylist for soft, face-framing layers or lightly feathered ends. This softens the transition between your real hair and the extension, making the blend look seamless.
7. Final Touch: Blend & Brush
After everything is set, run a wide-tooth comb or loop brush through your hair and the halo together. This final step smooths everything out and gives you that natural, polished finish.

Here you can see real transformations and how the blend can look in practice, check out these before and after halo hair extension results.
Best Ways to Style Your Halo Hair Extensions
Halo extensions do more than just add length—they open up a world of styling options. Here are our favorite ways to style your halo hair extensions.
1. Sleek and Straight
For a clean, simple look, straighten both your natural hair and the halo. Use a heat protectant first, then run a flat iron through small sections for a smooth finish. This style is perfect for daily wear and works great with minimal effort.

2. Loose Waves
Soft waves give a natural, relaxed vibe. Use a curling wand or iron to curl both your hair and the halo in the same direction. Gently loosen the curls with your fingers for beachy waves that look effortlessly glam.

3. Voluminous Curls
Big curls add drama and bounce to your hair. Use a large barrel curling iron and pin each curl to cool before releasing. Halo extensions hold curls really well, so this look lasts all day or night.

- Use the correct wire size: Each halo set includes seven wire sizes to help you achieve an ideal fit for your head. Switch to a different wire size if the halo feels either too loose or too tight.
- Position it properly: Place the halo one to two inches above your ear level with your headband resting against your skull contours.
- Add the extra clips: The included 2-clip wefts provide better side blending and extra security when used with your halo.
- Don’t overbrush the wire: Brush the top area gently to avoid tugging while maintaining your hairstyle in place.
4. Low Ponytail
A low pony is sleek, stylish, and perfectly hides the halo wire. With your halo in place, pull your hair into a low ponytail and wrap a small piece of hair around the base to hide the elastic. Ideal for work or a night out.

Source: https://www.perfectlocks.com/blogs/all-tressed-up/5-flawless-ways-to-style-ponytail-extensions
5. High Ponytail (Using the Halo as a Wrap)
You can create a high pony by removing the halo wire and attaching bobby pins to each end. Wrap the halo around the base of your ponytail and secure it with the pins. This instantly adds length and fullness with minimal effort.

Source: https://de.pinterest.com/pin/ciara-semi-custom-loose-wave-virgin-human-hair-ponytail-extension--24136547989182058/
6. Half-Up, Half-Down Styles
This style adds volume at the crown while leaving softness around your face. Pull the top section of your hair into a bun or ponytail and let the rest fall naturally over the halo. It’s a go-to look for both casual days and special occasions.
@thathair.co Short hair? No problem! With Halo Extensions, even short-haired beauties can rock long, luxurious locks in seconds 😍 #hairextensions #hairstyle #hairtutorial #haircare #fyp ♬ original sound _haloextensions - thathair
The lifespan of halo extensions depends on the hair quality and how well you care for them.
Brushing
Always brush your halo before and after wearing it. Hold the top of the weft and start brushing from the ends upward. Use a loop brush or wide-tooth comb to avoid pulling or snagging the hair
What affects the price of halo extensions?
- Hair quality: The natural appearance and durability of Remy human hair make it more expensive than synthetic blends. Kanekalon fiberblend halo extensions may be cheaper.
- Length and thickness: The price increases when you need longer or thicker sets because they require additional hair.
- Brand reputation: Established brands increase their prices because they offer established quality and color selection.
- Added features: The price increases when you add clips, multiple wefts or colour-matching services to your purchase.
The Halo Experience: Why You’ll Love It
Halo extensions serve to provide immediate volume and length without using glue or clips or causing damage. Halo extensions serve as an ideal solution for people who need rapid hairstyle changes without wanting permanent modifications.
But they’re not for everyone. The process of blending becomes difficult when your hair reaches below chin length. The extension placement becomes uncomfortable while the overall appearance remains unbalanced. People with chin-length hair or longer can achieve natural-looking results because the halo extension blends with their hair ends.
They’re ideal for:
- Special occasions like prom, events, or photoshoots
- A break from permanent extensions
- Quick, everyday styling that requires little work
Is a Halo Extension Right for You?
- Is your hair at least chin-length?
- Want something you can apply and remove yourself?
- Looking for a damage-free, low-maintenance option?
- Need a quick style upgrade for events or daily wear?
Final Thoughts
Halo extensions are brilliant, you get gorgeous, fuller hair in minutes without any of the damage or fuss. They're so light and blend so well that nobody's going to know your secret.
What we love most? You can completely switch up your vibe whenever you want. Straight and sleek one day, bouncy curls the next – no salon required. Get the color right, master a few simple blending tricks, and you're golden. Once you find your perfect halo, every day can be a good hair day.
Explore our collection of high-quality halo extensions and discover the one that’s made for you. Your best hair day starts here.